Removing a window screen with plastic clips might seem tricky, but it doesn’t have to be. If you’ve ever struggled with stubborn clips or worried about breaking your screen, this guide is made just for you.
You’ll learn simple, step-by-step methods that make the whole process quick and stress-free. By the end, you’ll feel confident handling your screens like a pro—saving time and avoiding costly mistakes. Ready to get started? Let’s dive in!

Credit: www.youtube.com
Tools Needed
Removing a window screen with plastic clips requires some simple tools. These tools help protect your window and screen from damage.
Having the right tools makes the job easier and faster. Make sure you gather them before starting.
Flathead Screwdriver
A flathead screwdriver helps pry open plastic clips gently. It fits well under clips without breaking them.
Work Gloves
Wear work gloves to protect your hands from sharp edges on the screen frame or window. Gloves also improve grip.
Plastic Pry Tool
A plastic pry tool is softer than metal tools. It reduces the chance of scratching the window frame or screen.
Bucket Or Container
Use a bucket or container to hold the clips after removal. This prevents losing small parts during the process.
- Flathead screwdriver
- Work gloves
- Plastic pry tool
- Bucket or container

Credit: www.swisco.com
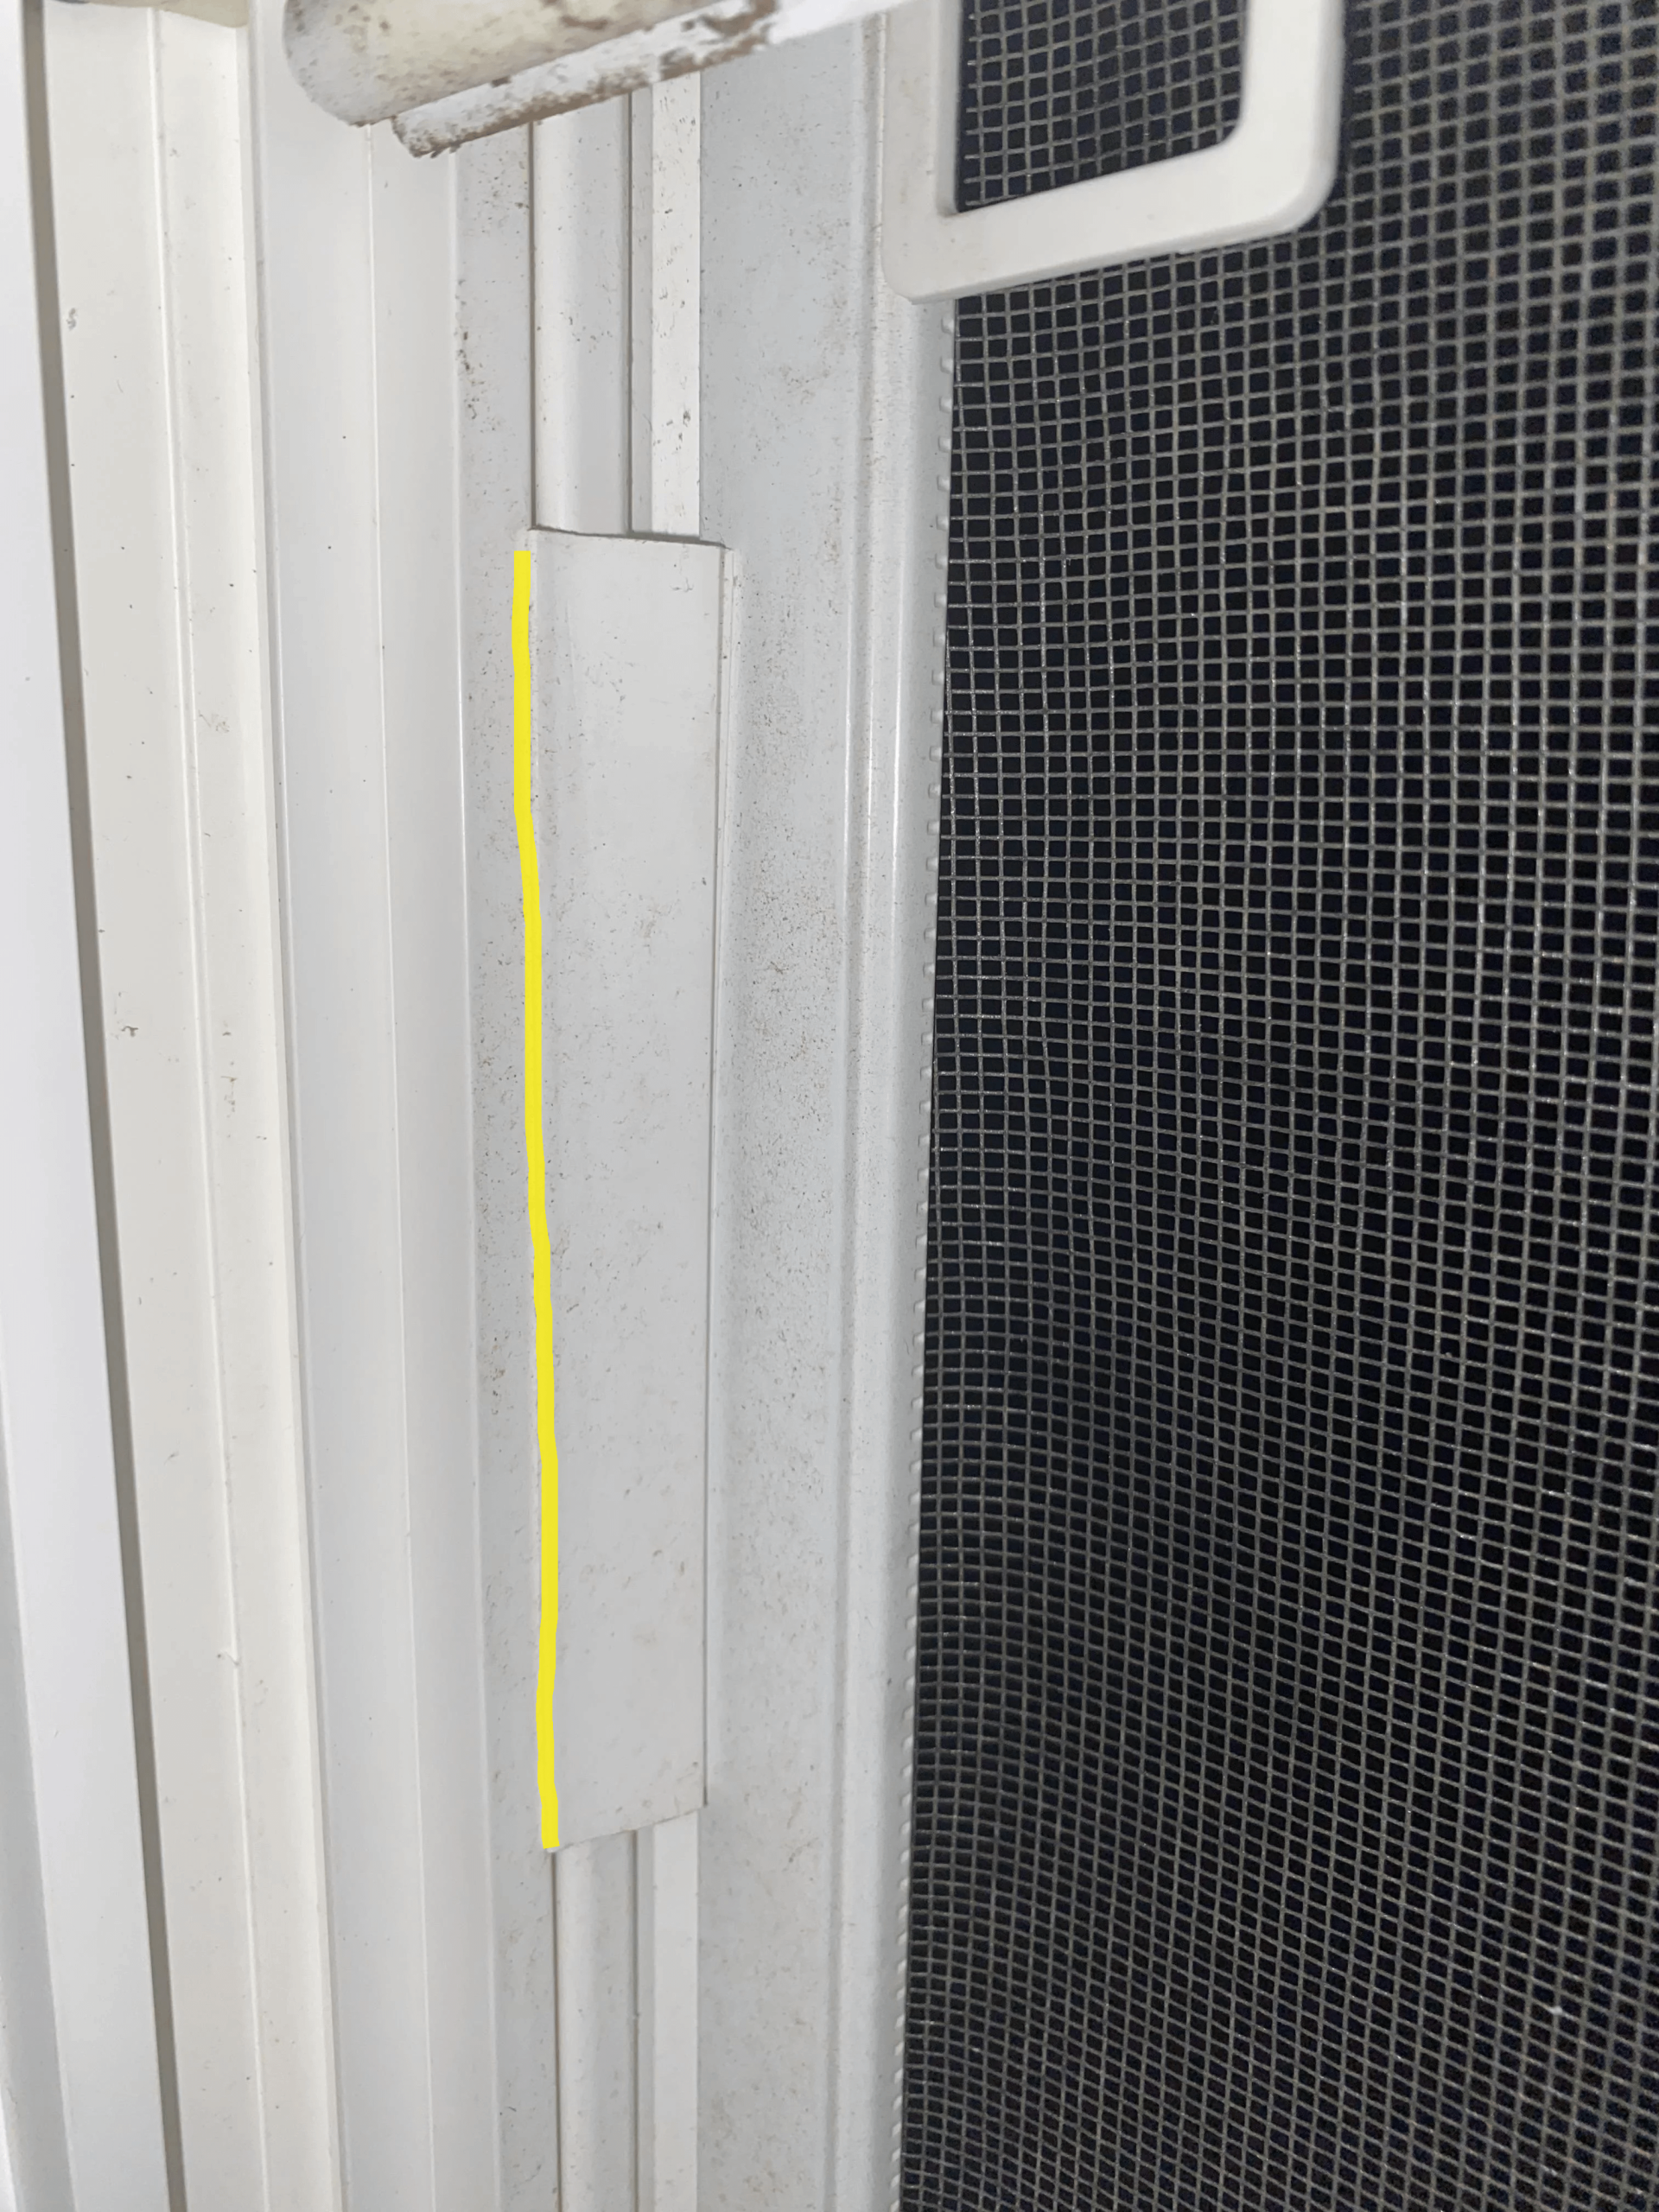
Identify Plastic Clips
Window screens often have plastic clips. These clips hold the screen in place. You need to identify them before removal.
Look at the edges of your window screen. Check for small plastic pieces. They might be at the corners or sides.
Recognize Different Clip Styles
Plastic clips come in different styles. Some are flat, while others are rounded. Recognizing the style helps in removal.
- Flat clips lie flush with the frame
- Rounded clips may protrude slightly
Check Clip Material
Clips are usually made of plastic. Some might be metal but are less common. Knowing the material helps choose the right tool.
| Material | Common Use |
| Plastic | Most window screens |
| Metal | Older or special screens |
Inspect Clip Condition
Check if clips are broken or worn. Damaged clips might need replacing. Inspection ensures a smooth removal process.
- Look for cracks in the clips
- Check if clips are loose
Prepare The Window Screen
Removing a window screen with plastic clips starts with good preparation. This makes the process easier and safer.
Take time to get your tools and space ready. This avoids damage to the screen or window frame.
Clear The Work Area
Remove any items near the window. This gives you space to work and prevents accidents.
- Move furniture away from the window
- Clear the floor under the window
- Make sure you have good lighting
Gather Necessary Tools
Get the right tools before you start. This saves time and helps you avoid damage.
- A flathead screwdriver or putty knife
- Gloves to protect your hands
- A small container to hold plastic clips
Inspect The Screen And Clips
Look closely at the screen and clips. Check for damage or dirt that could make removal hard.
Clean the clips gently if needed. This helps the screen come off smoothly.
Protect The Window Frame
Use painter’s tape or soft cloth on the window frame edges. This stops scratches or dents during removal.
- Apply tape along the frame edges
- Cover any sharp corners
- Remove tape after screen removal
Release The Clips
Removing a window screen with plastic clips needs care. Releasing the clips carefully stops damage.
This guide helps you release the clips safely and remove the screen.
Locate Clip Positions
Find all plastic clips holding the screen in place. Usually, clips sit along the frame edges.
- Look at each corner of the screen frame
- Check along the top and bottom edges
- Feel for clips by gently pressing the frame
Gently Pry Clips
Use a flat tool to slowly pry the clips away from the frame. Be gentle to avoid breaking them.
| Tool | Purpose |
| Flathead screwdriver | Slide under clip edge to lift |
| Plastic pry tool | Safe for delicate frames and clips |
| Putty knife | Wedge between clip and frame |
Avoid Damaging Frame
Protect the window frame by working slowly. Do not force clips or pull hard on the screen.
- Support the screen with one hand while prying
- Use gentle pressure to release each clip
- Stop if a clip feels stuck and try another spot
- Keep tools flat to avoid scratching the frame
Remove The Screen
Removing a window screen with plastic clips is easy if you follow the right steps. This guide helps you take out the screen safely. Begin by ensuring you have a sturdy ladder or step stool if necessary, and wear gloves for protection. Familiarize yourself with the mechanism of the clips, as knowing how to remove window screen will simplify the process greatly. Once you've unfastened the clips, gently lift the screen from its frame, taking care not to damage the surrounding area.
Plastic clips hold the screen in place. You must remove these clips carefully to avoid damage.
Lift Screen Out
First, find where the plastic clips hold the screen. Gently lift or press the clips to release them.
Once the clips are free, slowly lift the screen out of the window frame. Take your time to avoid bending the screen.
- Locate the plastic clips around the screen edges
- Press or lift each clip to unlock the screen
- Carefully raise the screen from the bottom
- Remove the screen from the frame slowly
Handle With Care
Window screens can be fragile. Handle them with care to prevent damage to the mesh or frame.
Hold the screen firmly but gently. Avoid bending or twisting the frame while moving it.
- Hold the screen by the frame edges
- Do not put pressure on the mesh
- Keep the screen flat to avoid warping
- Place the screen on a soft surface if you set it down

Credit: www.amazon.com
Troubleshooting Common Issues
Removing a window screen with plastic clips can be tricky. Some problems might stop you from taking it out easily.
This guide shows how to handle stuck clips, broken clips, and screen damage during removal.
Stuck Clips
Plastic clips can get stuck if dirt or paint holds them tight. This makes removing the screen hard.
- Spray a little WD-40 or lubricant on the clips.
- Use a flat tool like a screwdriver to gently pry the clip.
- Move the clip slowly back and forth to loosen it.
- Clean the clips after removal to avoid future sticking.
Broken Clips
Plastic clips may break from age or force. Broken clips need careful handling to avoid more damage.
| Problem | Solution |
| Clip cracked but still attached | Use pliers to hold and gently remove the screen |
| Clip completely broken off | Remove any clip pieces and use tape to hold screen temporarily |
| No clips left | Replace clips before reinstalling the screen |
Screen Damage
Screen tears or holes can happen during removal. Check the screen carefully before taking it out.
Follow these tips to protect the screen:
- Lift the screen slowly and evenly from the frame.
- Avoid pulling on corners only, which can cause tears.
- If the screen is old or weak, consider replacing it first.
- Use gloves to get a better grip and avoid accidental damage.
Reinstalling The Screen
After removing a window screen with plastic clips, you need to put it back properly. Reinstalling the screen ensures it fits tightly and stays secure.
Follow simple steps to attach the screen without damage or gaps. This guide helps you reinstall the screen with ease.
Align The Screen Frame
Place the screen frame in the window opening carefully. Make sure it fits evenly on all sides.
Check that the plastic clips line up with the slots or holes on the window frame.
Secure The Plastic Clips
Push each plastic clip into its slot gently but firmly. The clips hold the screen in place.
Make sure all clips snap or lock securely to avoid screen movement.
Check The Screen Fit
Look over the screen frame to confirm it sits flush with the window.
Press the frame lightly to test that it does not shift or fall out.
Test The Window Operation
Open and close the window slowly. This checks if the screen stays in place during use.
If the screen moves, readjust the clips and frame as needed for a secure fit.
Maintenance Tips
Removing window screens with plastic clips is easy if you know how. Regular maintenance keeps your screens strong and clean.
Proper care helps your screens last longer and work well. Follow simple steps to avoid damage.
Check Plastic Clips Regularly
Look at the clips holding your screen every few months. Make sure none are broken or loose. Damaged clips can cause the screen to fall.
- Inspect clips for cracks or wear
- Replace clips if they are weak
- Keep spare clips handy for quick fixes
Clean Screens Before Removal
Remove dust and dirt from the screen gently. Cleaning helps you see the clips clearly. Use a soft brush or cloth to avoid damage.
Cleaning also prevents dirt from falling inside your home when you remove the screen.
Remove Clips Carefully
Use your fingers or a flat tool to press the plastic clips gently. Do not force them. Forcing can break the clips or the screen frame.
- Press clips evenly to release
- Work on one clip at a time
- Keep the screen steady while removing
Store Screens Safely
After removal, place screens in a dry, flat area. Avoid bending or stacking screens on top of each other. This stops damage to the mesh and frame.
Cover screens with a cloth to keep dust away during storage.
Reinstall Screens Properly
Align the screen frame with the window before pressing the clips back in. Make sure clips snap firmly to hold the screen in place.
- Check clip positions before locking
- Press clips until you hear a click
- Test the screen for secure fit
Frequently Asked Questions
How Do You Remove Window Screens With Plastic Clips?
To remove window screens with plastic clips, gently press or slide the clips to release the screen. Carefully pull the screen out, avoiding damage to the frame or clips. Use a flat tool if needed to ease the clips without breaking them.
What Tools Are Needed To Remove Plastic Clip Window Screens?
Typically, no special tools are needed. A flathead screwdriver or putty knife can help press or pry plastic clips gently. Gloves protect your hands from sharp edges. Always work slowly to avoid damaging the screen or clips during removal.
Can Plastic Clips Be Reused After Screen Removal?
Yes, plastic clips can usually be reused if they are intact. Inspect clips for cracks or damage before reinstalling. Handle clips carefully during removal to maintain their shape and function for future use.
How To Avoid Damaging Window Screens When Removing Clips?
Apply gentle pressure on plastic clips and avoid forcing them. Use a flat tool to lift clips if they’re tight. Work slowly and evenly around the frame to prevent bending or tearing the screen material.
Conclusion
Removing a window screen with plastic clips is simple and quick. Start by gently pressing the clips to release the screen. Take care not to bend or break the frame. Keep the clips in place for easy reinstallation later. With a little patience, you can do this task yourself.
It saves money and helps maintain your windows. Now you know how to remove your screen safely and easily. Give it a try next time you need to clean or fix your windows. Easy steps, clear results.