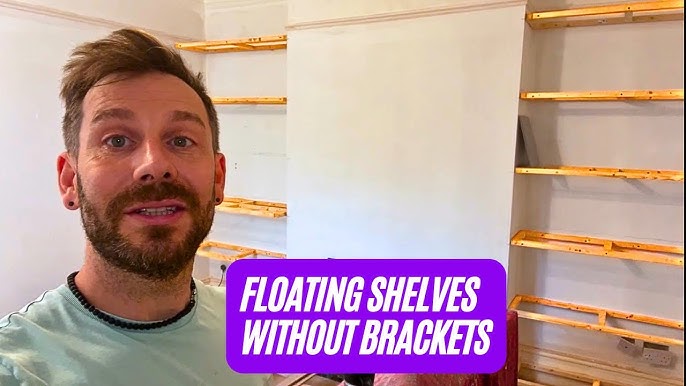
Looking to add stylish storage to your space without the bulky look of brackets? You’re in the right place.
Floating shelves give your room a clean, modern feel, and learning how to put them up without visible supports can completely change how your walls look. In this guide, you’ll discover simple, effective steps to install floating shelves that seem to defy gravity.
Whether you’re a DIY beginner or just want a sleek way to show off your favorite items, this article will help you get it done right. Keep reading to transform your walls and impress everyone who walks in.
Choosing The Right Floating Shelves
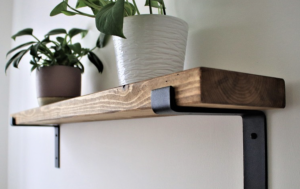
Floating shelves without brackets create a clean, modern look. Picking the right shelves is key for safety and style.
Consider the material, size, and design. These factors help your shelves hold weight and fit your room.
Material Options
Floating shelves come in many materials. Choose one that fits your room style and holds your items well.
Wood is classic and strong. Metal looks modern and supports heavy items. Glass looks light but holds less weight.
- Wood: sturdy and warm
- Metal: sleek and strong
- Glass: clean and light
- MDF: budget-friendly but less durable
Size And Weight Considerations
Pick shelf size based on the wall space and what you will place on it. Bigger shelves hold more but need strong support.
Check the weight limit of the shelves. Heavy items need thicker shelves and solid wall anchors.
- Short shelves hold less weight safely
- Long shelves need extra support inside
- Thicker shelves carry heavier items
- Always check manufacturer weight limits
Style And Design Choices
Floating shelves come in many styles to match your room. Choose a design that fits your decor and use.
Simple, clean lines look modern. Rustic wood adds warmth. Glass shelves keep the room light and open.
- Minimalist shelves fit modern rooms
- Rustic styles suit cozy spaces
- Glass shelves add brightness
- Painted shelves offer color options
Credit: crystelmontenegrohome.com
Essential Tools And Materials
Floating shelves add style and storage to any room. Installing them without brackets gives a sleek look.
To succeed, you need the right tools, adhesives, and safety gear. Let’s explore what you’ll need.
Required Tools
Having the right tools makes the installation easier and more secure.
- Drill with a masonry bit
- Level for accuracy
- Measuring tape
- Pencil for marking
Types Of Adhesives And Mounting Kits
Choosing the right adhesive is crucial for floating shelves. Some kits include everything you need.
Consider these mounting kits:
- Heavy-duty adhesive kits for drywall
- Velcro mounting strips for lightweight items
- Magnetic mounts for quick adjustments
Safety Equipment
Safety is important when installing shelves. Protect yourself with the right gear.
| Equipment | Purpose |
| Safety goggles | Protect eyes from dust |
| Gloves | Prevent cuts and abrasions |
| Dust mask | Filter out fine particles |
Preparing The Wall Surface
Installing floating shelves without brackets needs a strong wall surface. Preparing the wall well helps the shelves stay secure and look neat.
This guide covers cleaning, finding studs, and marking shelf spots. These steps make your shelf installation easier and safer.
Cleaning And Drying
Start by cleaning the wall where you want the shelf. Dirt or dust can stop glue or anchors from sticking well.
- Use a damp cloth to wipe off dust and dirt
- Remove any grease or stains with mild soap
- Let the wall dry completely before work
- Check for peeling paint and fix if needed
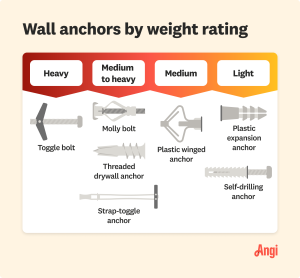
Locating Studs And Wall Types
Knowing your wall type and stud locations is key. Studs give strong support for heavy shelves. Drywall alone may not hold weight well.
| Wall Type | Description | Support Method |
|---|---|---|
| Drywall | Common wall, weak alone | Use anchors or find studs |
| Plaster | Hard, brittle surface | Drill carefully, find studs |
| Concrete/Brick | Very strong, rough surface | Use masonry anchors |
Use a stud finder tool to locate wooden studs behind drywall or plaster. Mark the stud spots with a pencil.
Marking Shelf Placement
Mark where the shelf will go for perfect fitting. Measuring and marking helps keep shelves level and balanced.
- Decide the height of the shelf on the wall
- Use a pencil and level to draw a straight line
- Mark stud locations along this line
- Double-check all marks before drilling

Credit: www.reddit.com
Installing Floating Shelves Without Brackets
Floating shelves give a clean look to your walls. You can install them without visible brackets. This guide shows simple ways to put up floating shelves.
Choose the right method based on your shelf weight and wall type. Follow the steps carefully for a secure fit.
Using Adhesive Strips
Adhesive strips work well for light shelves. They stick to the wall and shelf without drilling holes. Clean the wall surface before applying strips.
- Choose heavy-duty adhesive strips for better hold.
- Press the strips firmly on the shelf and wall.
- Hold the shelf in place for about 30 seconds.
- Wait an hour before placing items on the shelf.
Applying Construction Adhesive
Construction adhesive works for medium-weight shelves. It bonds the shelf directly to the wall. Prepare the surface by cleaning and drying it.
- Apply a bead of construction adhesive along the back edge of the shelf.
- Press the shelf firmly against the wall.
- Use painter’s tape to hold the shelf while the glue dries.
- Let the adhesive cure for 24 hours before use.
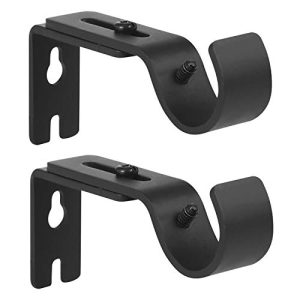
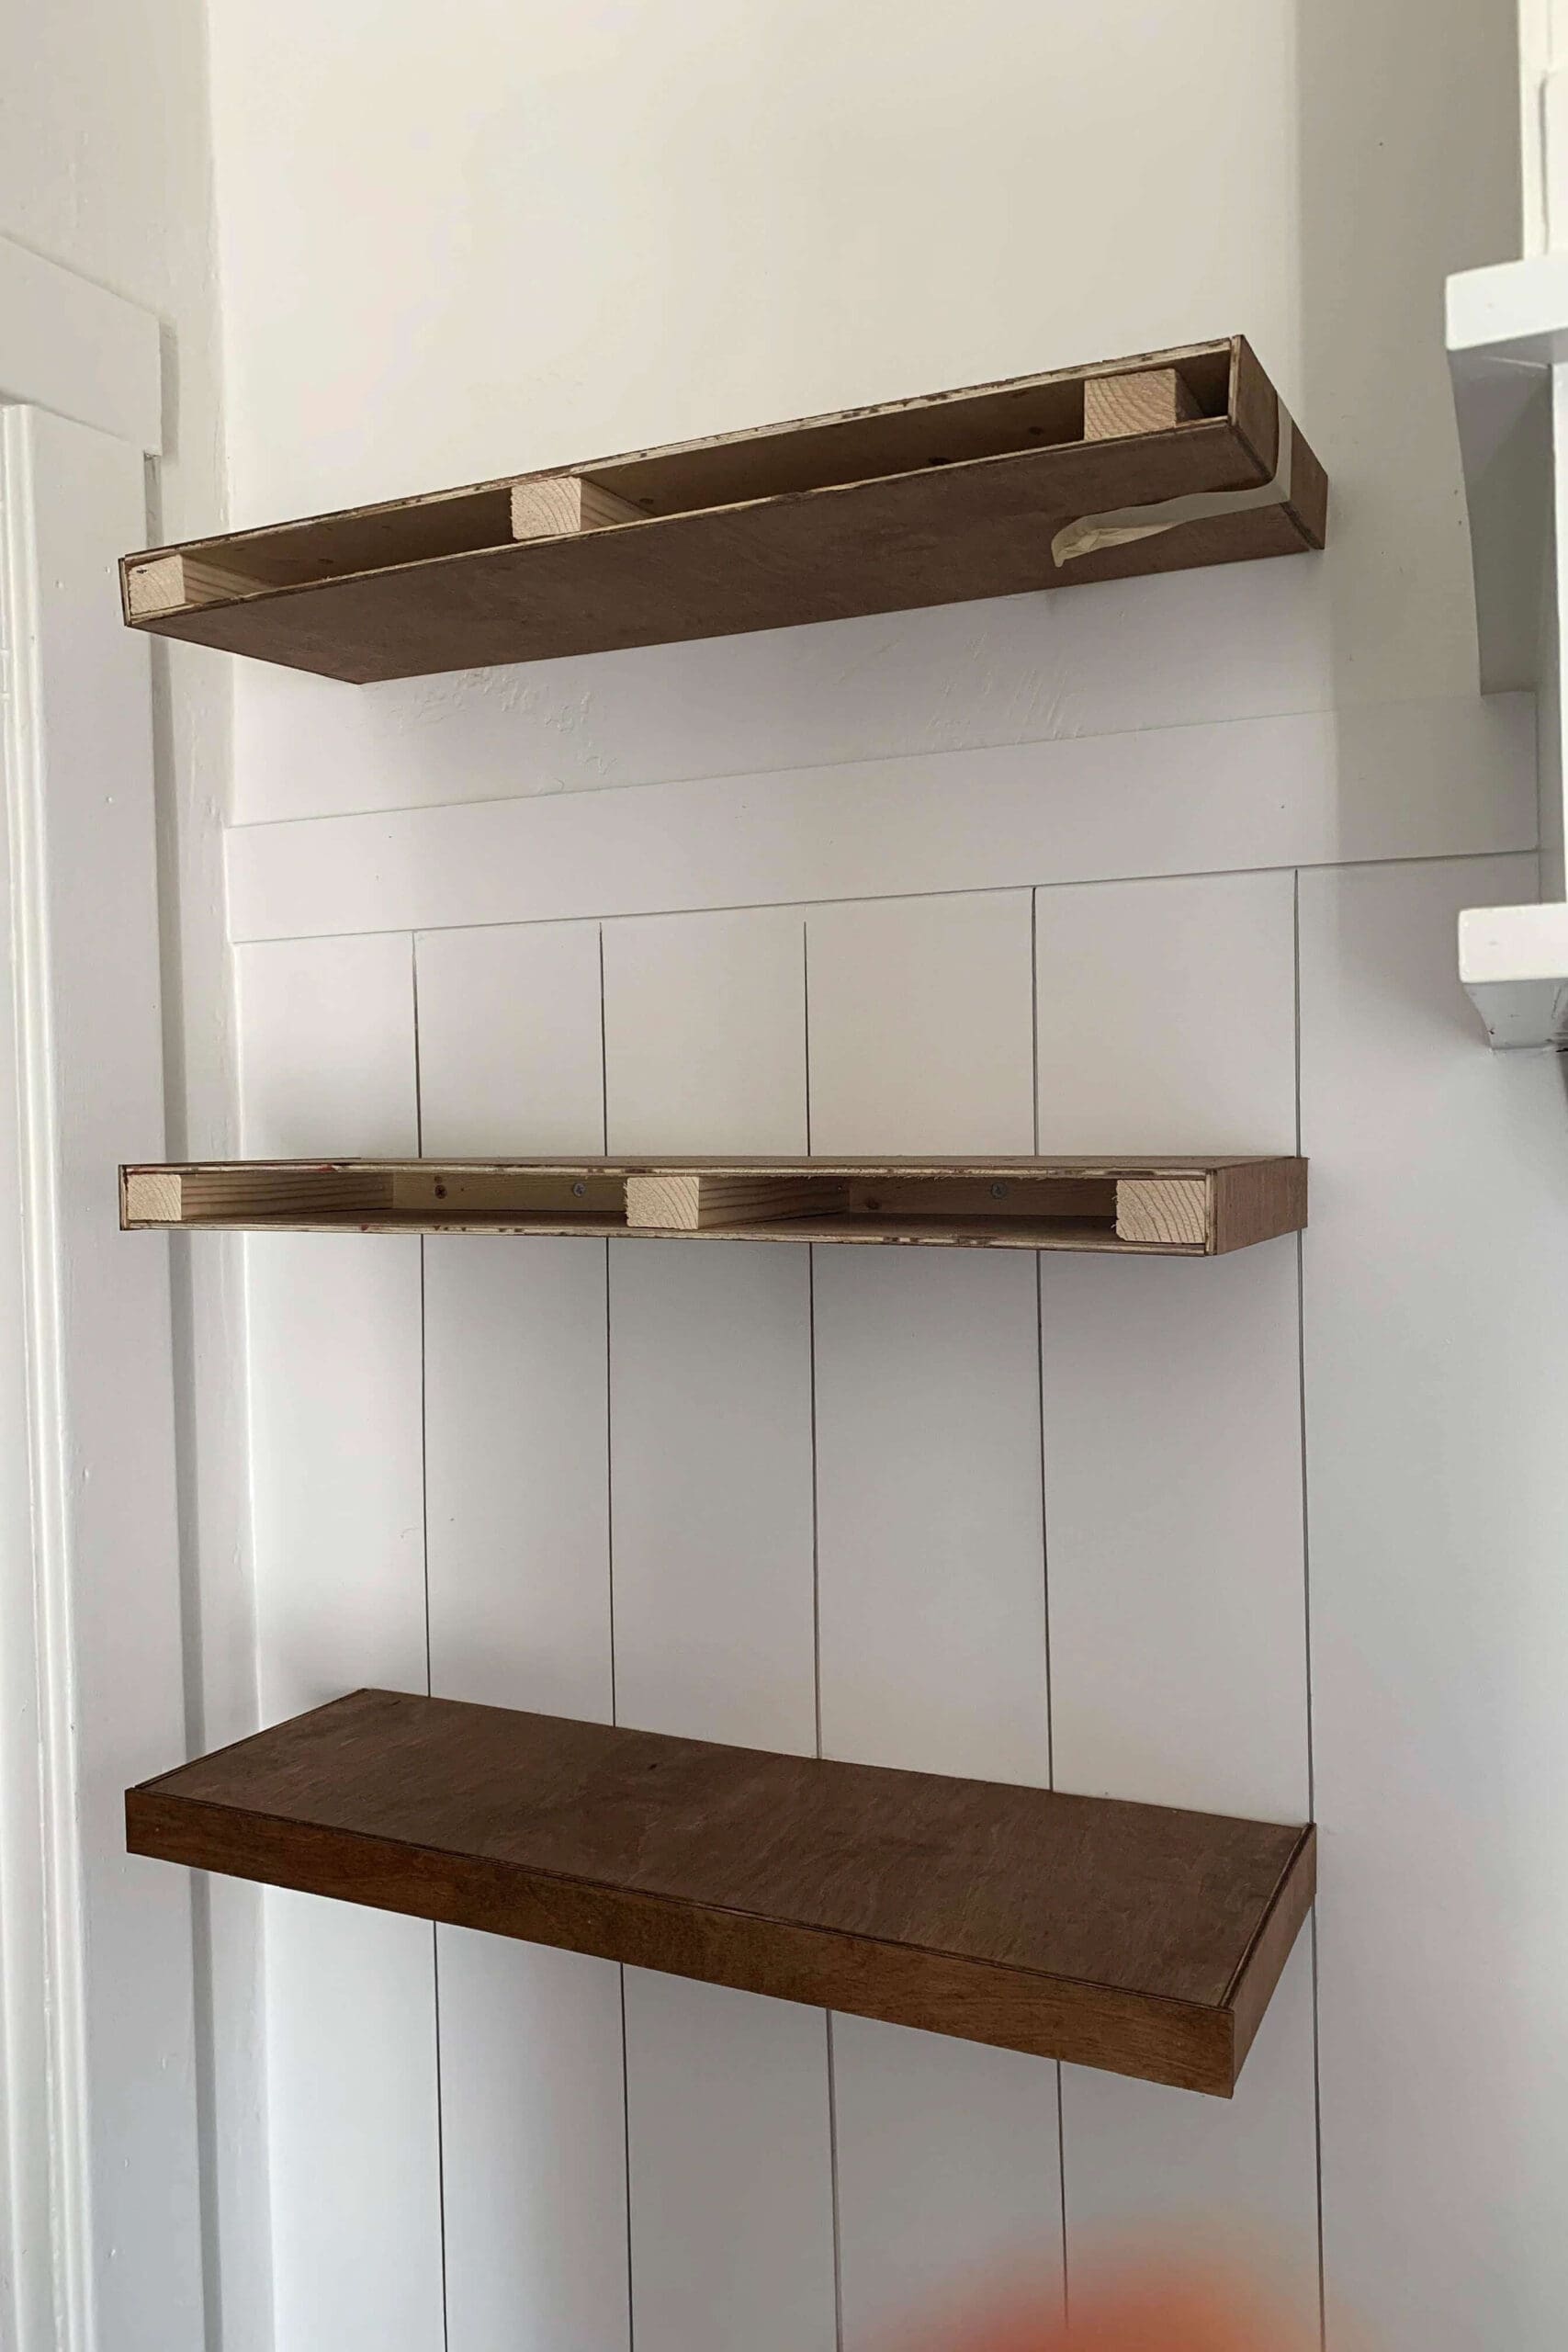
Installing Hidden Mounting Hardware
Hidden mounting hardware offers strong support and a clean look. This method needs tools and some drilling.
| Tool | Purpose |
| Drill | Make holes in the wall and shelf |
| Screwdriver | Tighten screws in mounting hardware |
| Level | Ensure shelf is straight |
| Stud finder | Locate wall studs for support |
Mount the hardware on the wall studs. Slide the shelf onto the hardware for a secure fit. Check the shelf level before tightening screws.
Ensuring Shelf Stability
Floating shelves without brackets look clean and modern. You must make sure they stay stable and safe. Good support helps prevent accidents and damage.
Use the right techniques to keep your shelves steady. This guide explains key points for strong shelf support.
Weight Limits And Load Distribution
Every floating shelf can hold only so much weight. Check the shelf material and wall type to find its limit. Do not overload the shelf.
Spread the weight evenly across the shelf. Put heavy items near the wall or center. Avoid placing all weight on one side.
- Know the maximum weight your shelf can hold
- Place heavier items close to the wall
- Distribute items evenly to avoid stress points
- Avoid sudden impacts or heavy loads
Testing Shelf Strength
Test the shelf before loading it fully. Press down gently and check for movement or noise. A stable shelf feels solid and does not wobble.
Add weight slowly to see if the shelf holds well. Stop if you notice bending or loosening. Fix any problems before using the shelf regularly.
- Press gently on the shelf to check stability
- Add light items first and watch for changes
- Listen for creaks or shifting sounds
- Reinforce or adjust if the shelf feels weak
Maintenance Tips
Keep your floating shelves safe by checking them often. Tighten screws or anchors if needed. Dust and clean the shelves regularly.
Look for signs of wear like cracks or loose parts. Repair issues quickly to avoid accidents. Proper care extends shelf life and safety.
- Inspect shelves monthly for loose fittings
- Tighten any screws or hidden anchors
- Clean shelves to prevent dust buildup
- Fix cracks or damages as soon as possible
Common Mistakes To Avoid
Putting up floating shelves without brackets can save space and look neat. It needs careful planning and skill. Avoid common mistakes to keep shelves safe and strong.
These mistakes can cause shelves to fall or look bad. Learn what to watch for before you start your project.
Overloading Shelves
One big mistake is putting too much weight on floating shelves. These shelves hold less weight than bracketed ones. Too much load can cause shelves to bend or fall.
Keep weight limits in mind. Use shelves for light items like small plants or books. Heavy objects need stronger support.
- Check the shelf material weight limit
- Distribute weight evenly across the shelf
- Avoid placing heavy items near the edges
- Use multiple shelves for many heavy items
Ignoring Wall Material
Not all walls hold shelves well. Drywall alone may not support floating shelves. Ignoring wall type can cause shelves to fall.
Find out if your wall is drywall, plaster, brick, or concrete. Use the right anchors or screws for each wall type.
- Use wall studs for best support
- For drywall, use heavy-duty anchors
- Brick or concrete needs special drill bits and anchors
- Test the wall strength before mounting shelves
Poor Surface Preparation
Skipping surface cleaning and leveling causes bad shelf mounting. Dust, dirt, or uneven walls reduce shelf grip. This can lead to slipping shelves.
Clean and check the wall surface before installation. Fill holes and smooth rough spots for a steady shelf base.
- Wipe down the wall with a damp cloth
- Fill small holes with wall filler
- Sand rough or uneven areas
- Make sure the wall is dry before mounting
Creative Floating Shelf Ideas
Floating shelves add style and storage without visible supports. They create a clean look on any wall.
You can make floating shelves unique with different materials and designs. This guide shares creative ideas.
Using Reclaimed Wood
Reclaimed wood gives shelves a rustic and eco-friendly touch. It adds character with natural textures and colors.
Use old pallets, barn wood, or driftwood to create floating shelves. Sand and seal wood before mounting.
- Choose wood with interesting grain or knots
- Cut planks to desired shelf length
- Apply a clear finish to protect wood
- Attach hidden supports inside the wood for floating effect
Incorporating Led Lighting
Adding LED lights under shelves enhances their look and function. It creates a warm glow and highlights items.
Use strip lights or small puck lights hidden beneath the shelf. Choose warm white or color-changing LEDs.
- Install LED strips along the bottom edge
- Use a remote or switch to control lighting
- Hide wires inside the wall or shelf
- Combine lighting with plants or decor for a cozy feel
Multi-tiered Floating Shelves
Multi-tiered shelves use several floating shelves stacked vertically or staggered. They add more storage and style.
Arrange shelves at different heights to display books, plants, or art. This setup saves space and looks modern.
- Measure wall space to fit multiple shelves
- Use matching or mixed wood types for contrast
- Place heavier items on lower shelves for safety
- Mix shelf lengths for a dynamic design

Credit: www.create-enjoy.com
Frequently Asked Questions
How Do Floating Shelves Stay Up Without Brackets?
Floating shelves use hidden internal supports called cleats. These are mounted inside the wall and shelf. The shelf slides onto the cleats, creating a secure, bracket-free look. Proper installation ensures strength and stability.
What Materials Are Best For Bracket-free Floating Shelves?
Solid wood and plywood are ideal for floating shelves. They provide strength and durability needed for internal supports. Avoid particleboard as it may not hold weight well. Choose materials that can be securely fastened to wall studs.
Can I Install Floating Shelves On Drywall Alone?
Drywall alone cannot support floating shelves properly. You must anchor shelves to wall studs or use heavy-duty anchors. This ensures the shelf can hold weight safely without risk of falling.
How Much Weight Can Floating Shelves Hold Without Brackets?
Weight capacity depends on shelf material and mounting method. Properly installed floating shelves can hold 20 to 50 pounds. Always check the manufacturer’s guidelines and use studs for maximum support.
Conclusion
Putting up floating shelves without brackets is simple and neat. Choose strong materials and secure anchors for safety. Mark your wall carefully to keep shelves level. Use the right tools to make the job easier. This method saves space and adds style to any room.
With patience and care, your shelves will hold well. Try this easy way to organize your space today.