If you have a Mighty Mule gate opener, you know how convenient it makes entering and leaving your property. But setting it up just right can feel tricky if you’re not sure where to start.
What if you could program your gate opener quickly and easily, saving time and avoiding frustration? In this guide, you’ll get clear, step-by-step instructions that anyone can follow. By the end, your gate will work smoothly, giving you the security and ease you want.
Keep reading to unlock the full potential of your Mighty Mule gate opener.

Credit: www.youtube.com
Choosing The Right Mighty Mule Model
Choosing the right Mighty Mule gate opener is important for smooth operation. Different models fit different gates and needs.
Think about your gate’s size, power needs, and extra features before buying a model.
Assessing Gate Size And Weight
Check your gate’s width and weight to find a strong enough opener. Bigger gates need more power.
Mighty Mule models list the maximum gate weight and size they support. Match these to your gate measurements.
- Light gates under 150 lbs need smaller openers
- Heavy gates up to 300 lbs need mid-range models
- Large gates over 300 lbs require heavy-duty openers
Power Requirements
Decide if you want a solar-powered or electric gate opener. This depends on your power source availability.
Solar models work well in sunny areas with no electric outlet nearby. Electric models need a power supply close to the gate.
- Solar models save electricity and need sunlight
- Electric models need a nearby power outlet
- Check voltage and amperage needs of each model
Compatibility With Accessories
Some Mighty Mule models support more accessories than others. Choose a model that fits your extra needs.
Think about adding keypads, sensors, or remotes. Make sure the opener can connect to these devices.
- Check if your model supports wireless remotes
- Look for compatibility with safety sensors
- Keypad and smartphone control features vary by model

Credit: www.amazon.com
Gathering Necessary Tools And Materials
To program a Mighty Mule Gate Opener, you need the right tools and materials. Preparing ahead ensures a smooth process.
Collecting these items before you start saves time and frustration. Ensure you have everything on hand.
Essential Tools Checklist
Having the correct tools is essential for programming your gate opener correctly. Check off each item as you gather it.
- Screwdriver set
- Wire cutters
- Multimeter
- Adjustable wrench
- Drill and drill bits
Safety Gear Recommendations
Wearing the right safety gear protects you from potential hazards. Ensure you have the following items.
| Safety Gear | Purpose |
| Safety glasses | Protects eyes from debris |
| Gloves | Prevents cuts and scratches |
| Hard hat | Shields head from impact |
Preparing The Gate For Installation
Before installing the Mighty Mule gate opener, you must prepare the gate properly. This helps the opener work well and last longer.
Start by checking the gate’s condition, clearing any obstacles nearby, and measuring the right place to mount the opener.
Inspecting Gate Structure
Look closely at the gate to make sure it is strong and stable. The opener needs a solid gate to function safely and smoothly.
- Check if the gate frame is straight and not bent.
- Look for rust, cracks, or loose parts.
- Make sure the hinges are tight and work without noise.
- Confirm the gate swings freely without dragging on the ground.
Clearing Obstructions
Remove anything that blocks the gate’s path. Obstructions can stop the gate from moving or damage the opener.
| Obstruction | Check | Action |
| Vegetation | Grass, branches near gate | Trim or clear away |
| Debris | Rocks, sticks, trash | Remove from area |
| Objects | Tools, toys, furniture | Move out of gate path |
| Ground | Uneven or soft soil | Level or firm ground |
Measuring For Opener Placement
Measure the gate and its surroundings carefully. Correct placement makes the opener work better and last longer.
- Measure the gate width and height.
- Check the space beside the gate for mounting the opener.
- Measure the distance from the gate hinge to where the opener arm will attach.
- Note the height of the gate from the ground to the top rail.
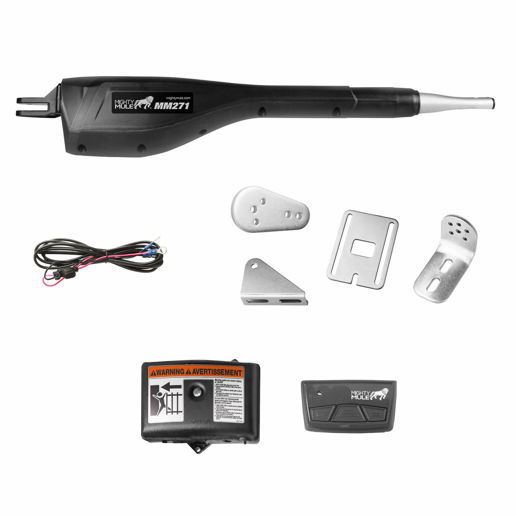
Installing The Gate Opener Hardware
Installing a Mighty Mule gate opener requires careful setup of the hardware parts. You need to mount the motor, attach the arm, and connect the control box properly.
Each part must be secured tightly and aligned correctly for smooth gate operation. Follow the steps below for a solid installation.
Mounting The Motor
Choose a flat surface near the gate post to mount the motor. Make sure it is strong enough to hold the motor's weight and force.
Use the mounting bracket that comes with the kit. Attach it using bolts and screws supplied in the package.
- Position the motor on the bracket so the drive arm faces the gate.
- Use a level to check the motor is straight.
- Tighten all bolts to secure the motor firmly.
Attaching The Arm
Attach the arm to the motor's drive shaft. This arm will push or pull the gate open and closed.
Align the arm so it reaches the gate hinge or the gate itself, depending on your model.
- Slide the arm onto the motor shaft firmly.
- Secure it with the pin or bolt provided.
- Check the arm moves freely without obstruction.
Connecting The Control Box
Mount the control box near the motor but in a dry, safe location. It controls the motor’s power and signals.
Connect the motor wires to the control box terminals. Follow the wiring diagram in your manual carefully.
- Turn off all power before connecting wires.
- Match wire colors to the control box labels.
- Secure all connections to avoid loose contacts.
- Close the control box cover once done.
Wiring And Electrical Setup
Setting up the wiring and electrical parts of a Mighty Mule gate opener is important. Proper wiring ensures the gate works safely and reliably.
This guide explains how to connect power, install safety switches, and test all electrical parts correctly.
Power Supply Connection
Start by connecting the gate opener to a steady power source. Use the right voltage as described in the manual.
Make sure the power wires are secure and insulated. Loose wires can cause problems or danger.
- Turn off the main power before wiring.
- Use a 110V or 220V power supply as needed.
- Connect the power wires to the control box terminals.
- Check all connections twice to avoid errors.
- Use waterproof connectors if the setup is outdoors.
Safety Switch Installation
Safety switches stop the gate if something blocks it or if there is an emergency. Install them where the gate stops or reverses.
Connect the switches to the control board using the correct terminals. Test them to ensure they work before finalizing.
- Mount safety switches on both sides of the gate.
- Wire switches to the safety input on the control box.
- Use proper connectors to avoid loose wiring.
- Label the wires for easy troubleshooting.
Testing Electrical Components
After wiring, test all electrical parts. Check power, switches, and motor functions before use.
Testing helps find wiring mistakes and ensures the gate opens and closes safely.
- Turn on the power supply and watch for any errors.
- Press safety switches to see if the gate stops or reverses.
- Use the remote control to open and close the gate.
- Listen for unusual noises from the motor.
- Check all wiring connections again after testing.
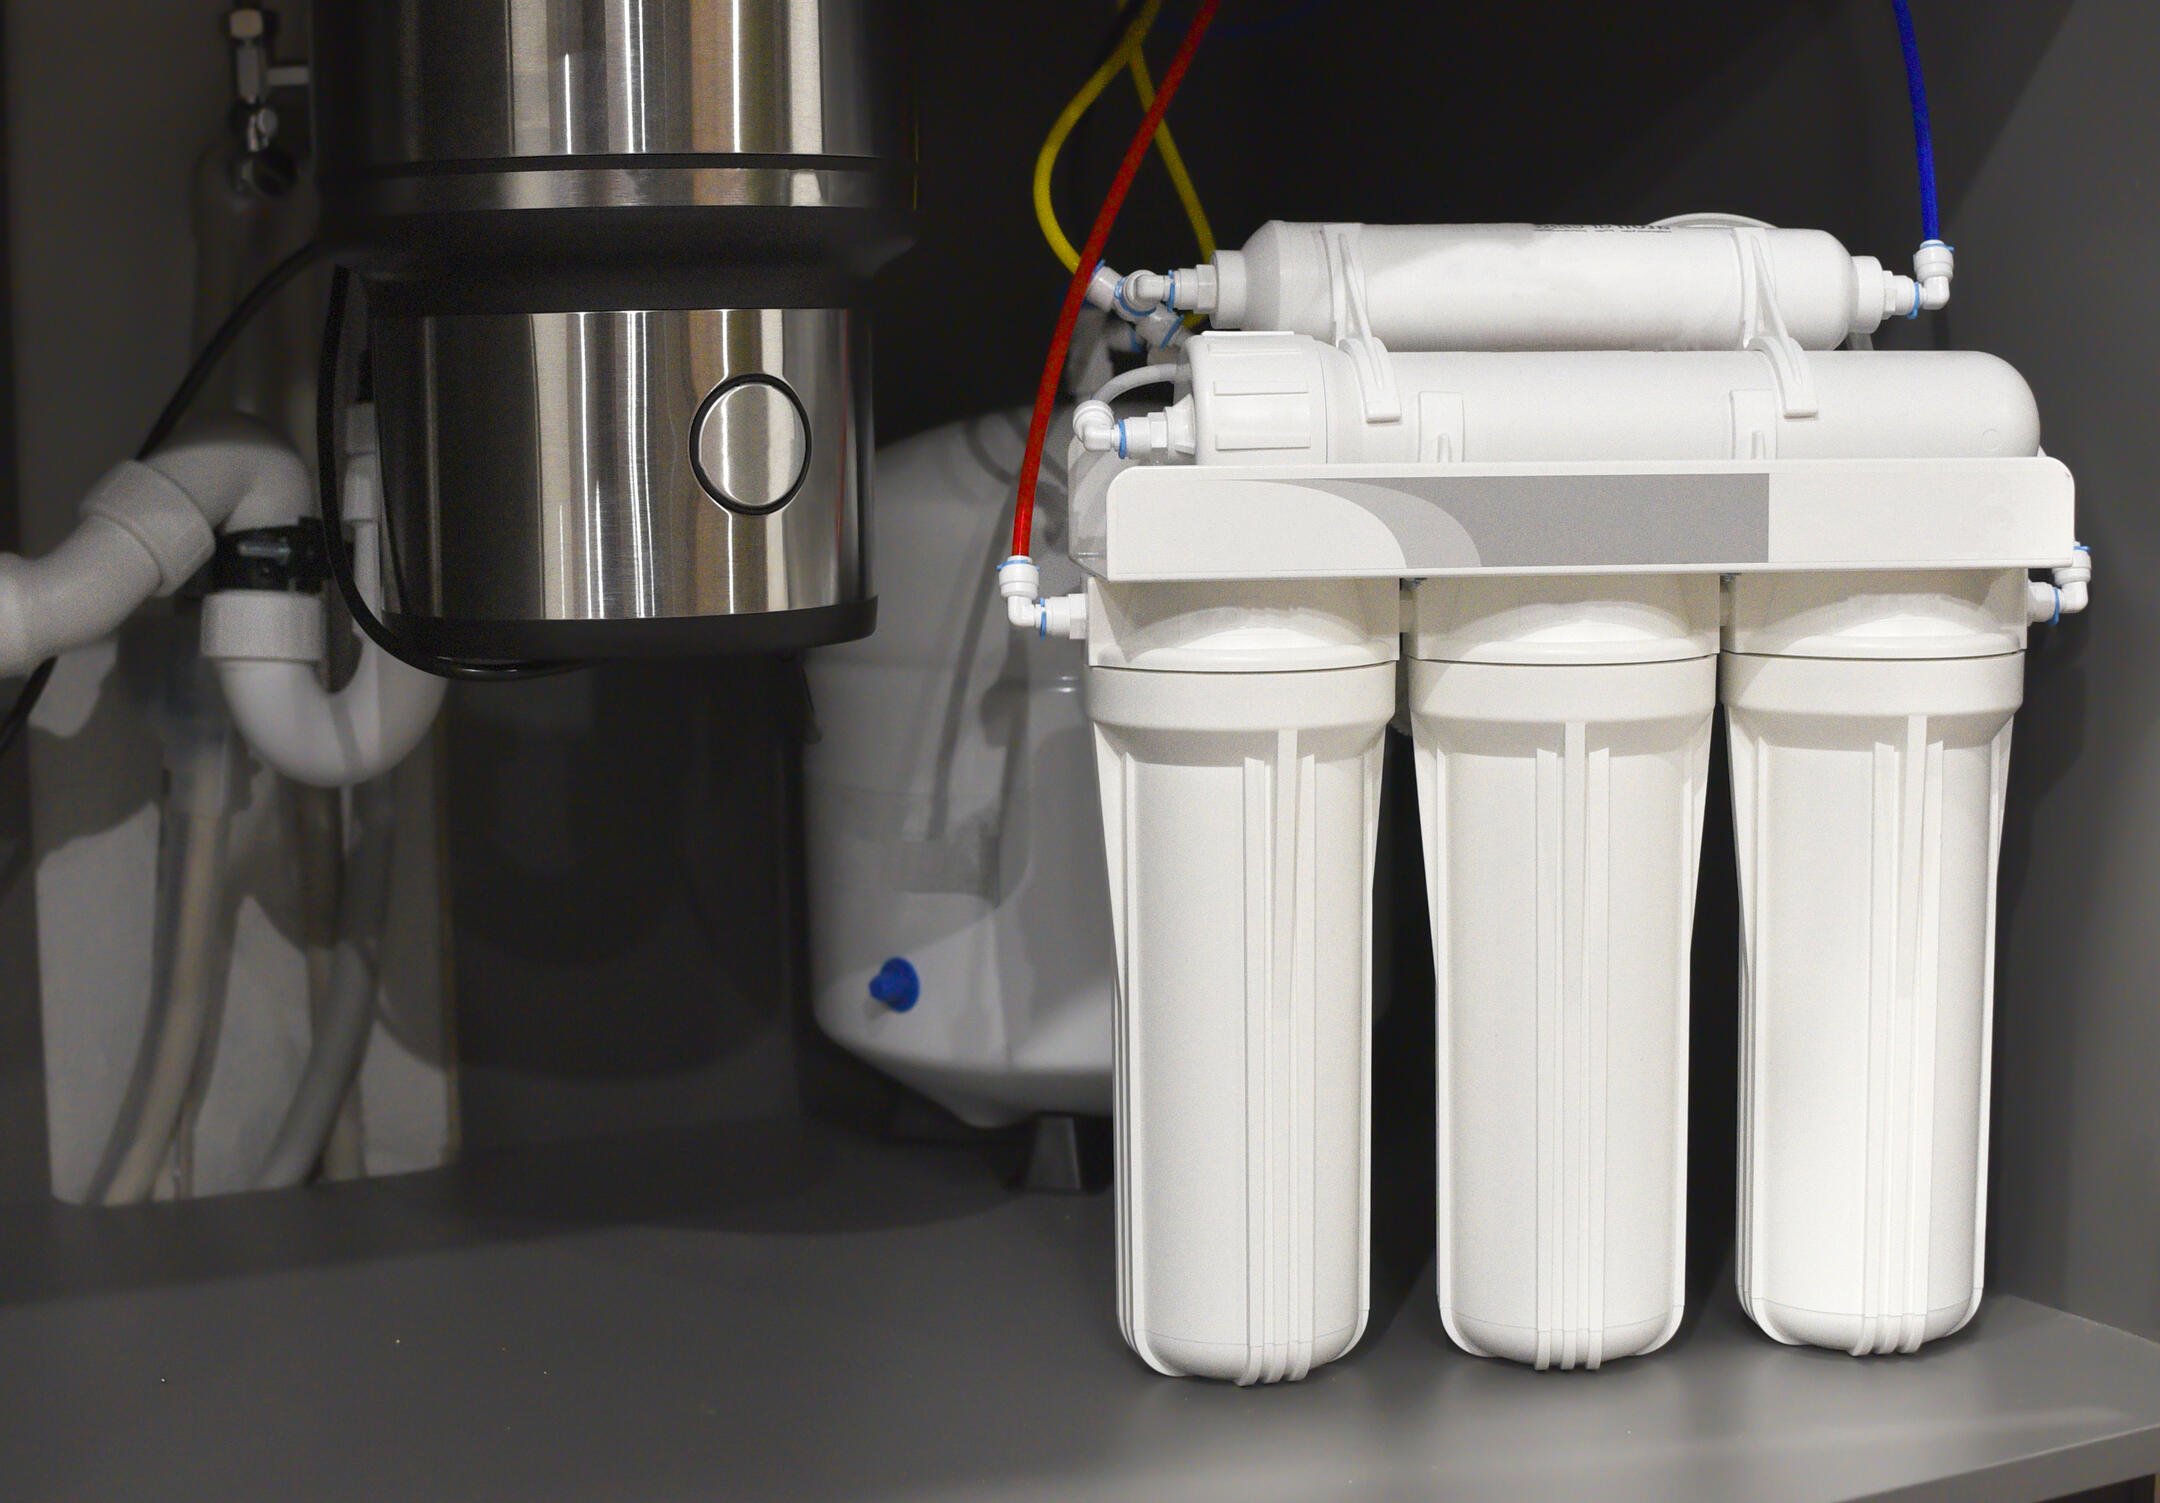
Credit: www.coastalcountry.com
Programming The Remote Controls
Programming the remote controls for a Mighty Mule gate opener is simple. You can add or remove remotes easily.
This guide explains how to program your remotes for smooth gate operation.
Accessing Programming Mode
First, you need to access the programming mode on your gate opener. This mode lets you add new remotes.
Find the control box on your gate motor. Open it to see the buttons inside.
- Press and hold the "Learn" button on the control box.
- Wait until the LED light turns on or blinks.
- Release the "Learn" button to enter programming mode.
Syncing Multiple Remotes
You can program more than one remote at the same time. This saves time and keeps all remotes working well.
After entering programming mode, press each remote’s button you want to sync. Do this one by one.
- Press a button on the first remote until the LED blinks.
- Press a button on the second remote until the LED blinks.
- Repeat for all remotes you want to program.
- Exit programming mode by waiting for the LED to stop blinking.
Resetting Remote Settings
If you want to erase all remotes, reset the remote settings. This clears all saved remotes.
Use this when remotes are lost or you want a fresh start with new remotes.
- Open the control box on the gate motor.
- Press and hold the "Learn" button for about 20 seconds.
- Wait for the LED to flash quickly.
- Release the button; all remote settings are now erased.
- Reprogram your remotes as needed.
Setting Gate Limits And Sensitivity
Programming a Mighty Mule gate opener requires setting the right limits and sensitivity. This ensures your gate opens and closes smoothly and safely.
By adjusting the open and close positions and configuring force settings, you can customize how your gate moves. Testing the gate movement helps confirm these settings are correct.
Adjusting Open And Close Positions
Set the gate to stop at the right points when opening and closing. This prevents damage and keeps the gate aligned.
Use the control panel to move the gate slowly to the full open position. Save this position in the system. Then, do the same for the full closed position.
- Press the open button until the gate reaches the desired open point.
- Save the open limit on the control panel.
- Press the close button until the gate is fully closed.
- Save the close limit to prevent overtravel.
Configuring Force Settings
Force settings control how much power the gate uses to move. Adjusting these settings helps the gate respond to obstacles.
Set lower force values for light gates. Use higher values for heavier gates to ensure smooth operation without stalling.
- Start with a low force setting.
- Increase force if the gate stops before reaching limits.
- Lower force if the gate pushes too hard against obstacles.
- Check the manual for force value ranges.
Testing Gate Movement
After setting limits and force, test the gate several times. Watch for smooth starting and stopping at limits.
If the gate hesitates or stops early, adjust force or limits again. Safety sensors should also stop the gate if obstacles appear.
- Open and close the gate fully multiple times.
- Check for smooth movement without jerks.
- Confirm the gate stops exactly at set limits.
- Test safety sensors by placing an object in the gate path.
Troubleshooting Common Issues
Programming a Mighty Mule gate opener is usually easy. Still, some common problems may occur. This guide helps you fix them quickly.
Follow these tips to solve issues like remote problems, gate stopping, or strange noises during use.
Remote Not Responding
If the remote does not work, first check the battery. A weak or dead battery often causes the problem.
- Replace the battery with a new one.
- Make sure the remote is within range of the gate.
- Check that the remote is programmed correctly to the opener.
- Press and hold the button longer to see if it responds.
- Clear any obstacles blocking the signal.
Gate Stops Midway
The gate may stop moving before it fully opens or closes. This can be due to safety sensors or power issues.
| Possible Cause | How to Fix |
| Obstruction in gate path | Remove any objects or debris blocking the gate |
| Misaligned safety sensors | Adjust sensors to face each other properly |
| Low power supply | Check power source and connections |
| Incorrect limit switch settings | Reprogram the gate limits following the manual |
Unusual Noises During Operation
Strange sounds may mean parts need lubrication or are damaged. Listen carefully to identify the noise.
- Check for loose bolts or screws and tighten them.
- Lubricate moving parts like hinges and chains with recommended oil.
- Inspect the motor for wear or damage.
- Replace worn gears or rollers as needed.
- Keep the gate track clean and free of debris.
Maintaining Your Mighty Mule Opener
Keeping your Mighty Mule gate opener in good shape helps it last longer. Regular care prevents problems and keeps it working smoothly.
This guide covers important tasks for maintenance. Follow these tips to protect your gate opener.
Routine Inspections
Check your gate opener often for any damage or wear. Look for loose bolts, broken parts, or unusual noises. Early fixes stop big issues later.
- Inspect mounting hardware for tightness
- Look for cracks or rust on the gate and opener
- Test the safety sensors and remote controls
- Check the battery condition and connections
- Listen for odd sounds during operation
Lubrication Tips
Lubricate moving parts to reduce friction and wear. Use the right lubricant to avoid damage. Do not over-lubricate as this can attract dirt.
| Part | Lubricant Type | Frequency |
| Hinges | Silicone spray | Every 3 months |
| Chain or Gear | Light machine oil | Every 6 months |
| Locking Mechanism | Graphite powder | Once a year |
Updating Firmware
Keep your gate opener’s firmware up to date. Updates fix bugs and improve security. Follow the manufacturer’s instructions for safe updates.
To update the firmware:
- Connect the opener to your computer or smartphone.
- Download the latest firmware from the Mighty Mule website.
- Follow the update prompts carefully.
- Do not turn off power during update.
- Restart the opener after updating.
Frequently Asked Questions
How Do I Start Programming A Mighty Mule Gate Opener?
Begin by ensuring the gate opener is powered and connected. Press the "Learn" button on the control panel. Then, follow the specific model’s instructions to program remotes or sensors step-by-step for proper operation.
What Is The Reset Procedure For Mighty Mule Gate Openers?
To reset, locate the control panel and press the "Reset" or "Learn" button for 10 seconds. This clears previous settings. Afterward, reprogram your remotes and accessories as needed to restore normal function.
How Can I Program Remote Controls With Mighty Mule?
Press the "Learn" button on the control panel once. Then, press any button on your remote control within 30 seconds. The LED will flash to confirm successful programming of the remote.
Why Won’t My Mighty Mule Gate Opener Program Properly?
Programming issues often arise from low battery remotes or incorrect button presses. Ensure the gate opener is powered. Follow the exact timing for pressing the "Learn" button and remotes. Refer to your model manual for troubleshooting.
Conclusion
Programming a Mighty Mule gate opener is simple and clear. Follow each step carefully to avoid mistakes. Test the remote and gate after programming. Adjust settings if the gate does not respond well. This guide helps you control your gate easily and safely.
You can save time and effort by doing it yourself. Enjoy the convenience and security a programmed gate provides. Keep the manual handy for future reference. Trust your work and feel confident using your gate opener.