Are you ready to take control of your plumbing system and save both time and money? Learning how to install a compression shut off valve is easier than you might think—and it can protect your home from leaks and costly repairs.
In this guide, you’ll discover simple, step-by-step instructions that anyone can follow, even if you’ve never worked with plumbing before. Keep reading, and you’ll gain the confidence to handle this essential task yourself, ensuring your pipes stay secure and your water flow stays under your control.
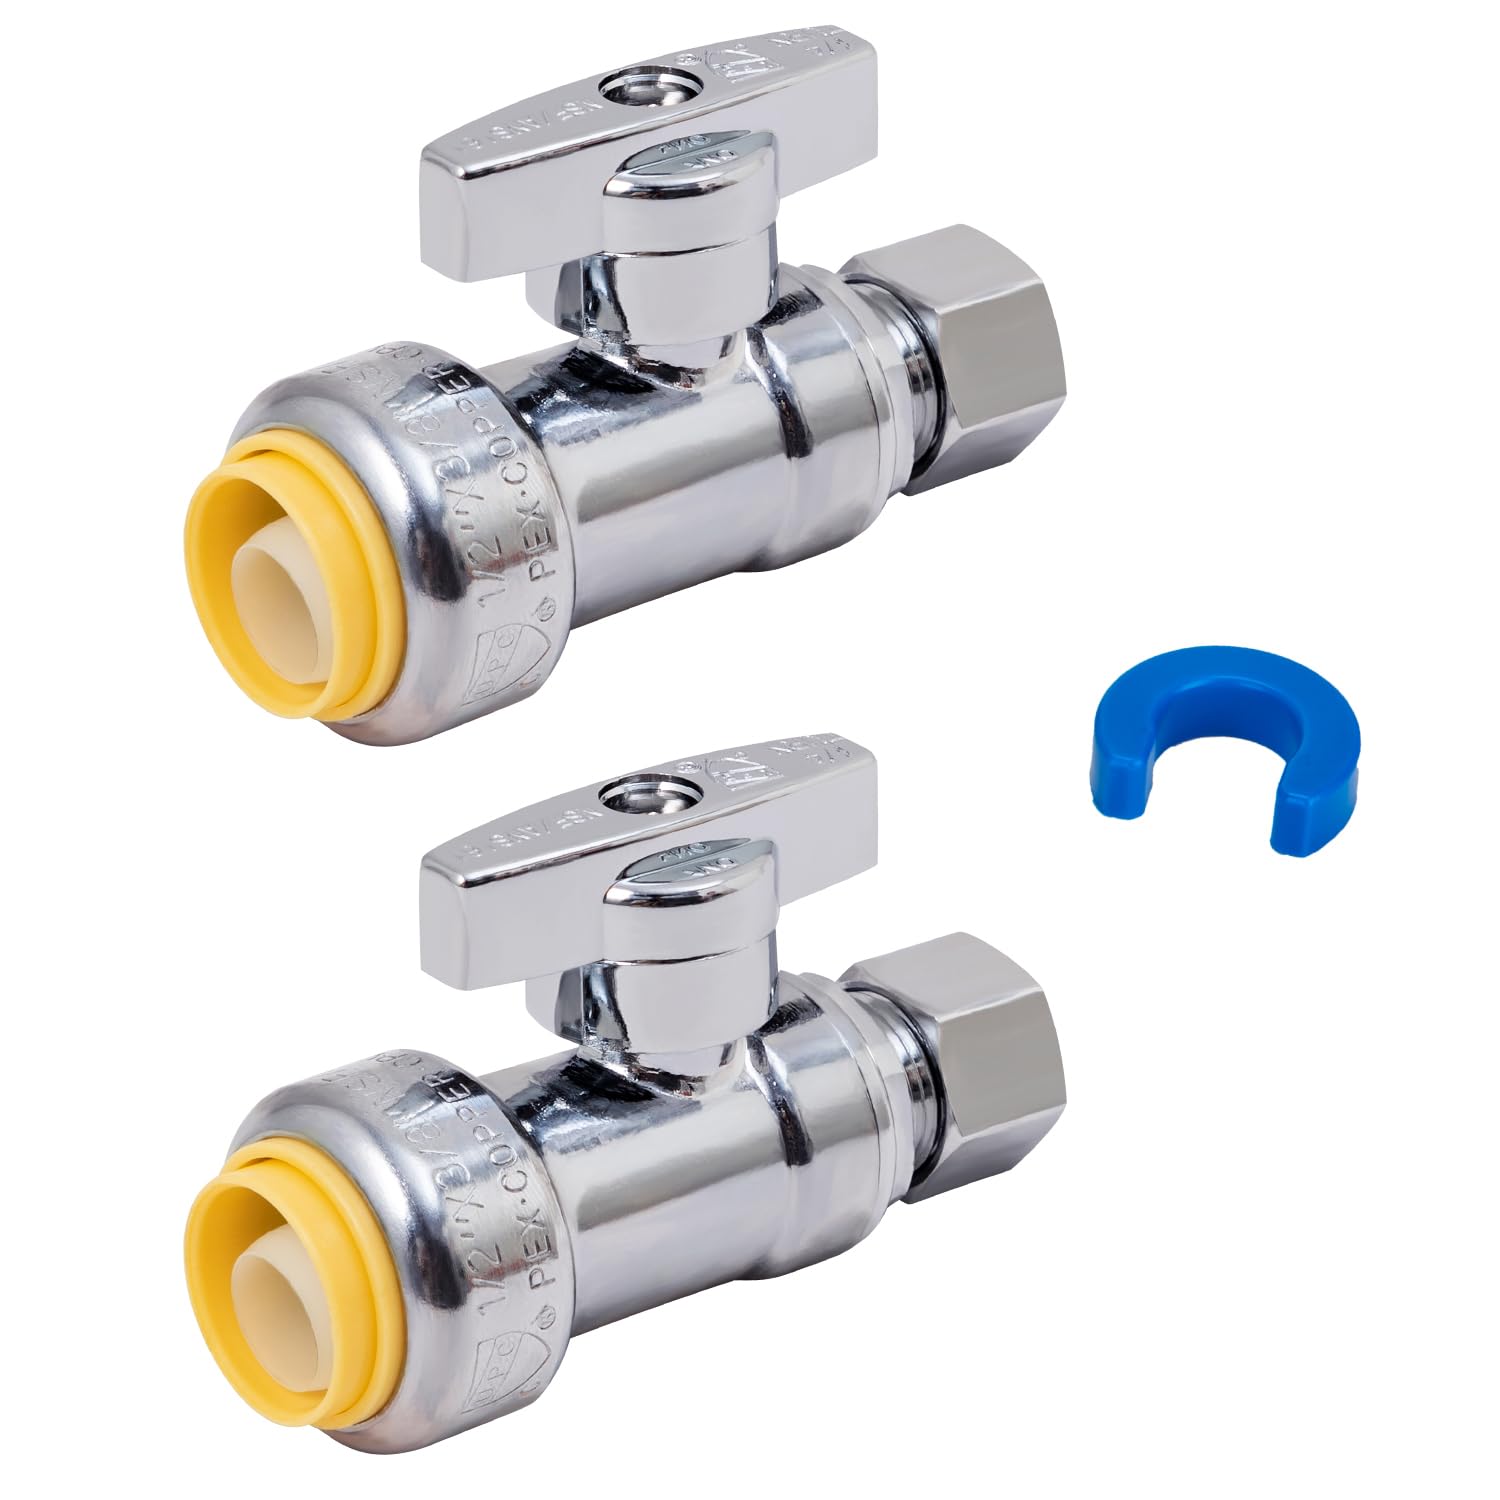
Credit: www.homedepot.com
Tools And Materials Needed
Installing a compression shut off valve requires the right tools and materials. Using proper items makes the job easier and safer.
This guide covers the essential tools, how to choose the right valve, and necessary safety gear.
Essential Tools
You need specific tools to install a compression shut off valve correctly. These tools help cut, tighten, and secure pipes and fittings.
- Pipe cutter or hacksaw to cut pipes cleanly
- Adjustable wrench for tightening nuts
- Pipe deburring tool to smooth pipe edges
- Measuring tape to measure pipe length
- Pipe cleaning brush or sandpaper
- PTFE tape to seal threaded connections
Choosing The Right Valve
Select a compression shut off valve that fits your pipe size. Valves come in different materials like brass or plastic.
Brass valves are durable and good for water lines. Plastic valves work well for low-pressure systems.
- Check the valve size matches your pipe diameter
- Choose a valve rated for your water pressure
- Pick a valve with easy-to-use handles
- Consider corrosion resistance for long life
Safety Gear
Wear safety gear to protect yourself during installation. Safety gear prevents injuries from sharp pipes and tools.
- Safety gloves to protect your hands
- Safety glasses to shield your eyes
- Long sleeves to guard your arms
- Closed-toe shoes for foot protection
Preparing The Installation Area
Installing a compression shut off valve is important for controlling water flow. Before starting, it is crucial to prepare the installation area properly.
This guide will help you with shutting off water supply, draining the pipes, and cleaning the connection points. These steps ensure a smooth installation process.
Shutting Off Water Supply
First, locate the main water supply valve. It is usually near the water meter or where the main line enters your home.
Turn the valve clockwise to shut off the water. This stops water flow and allows you to work safely on the pipes.
Draining The Pipes
After turning off the water, open the faucets to drain any remaining water. This step prevents leaks during installation.
Let the water run until it stops completely. This means the pipes are fully drained and ready for the next step.
Cleaning The Connection Points
Clean the pipe ends where the valve will be installed. Use a cloth to wipe away dirt and debris.
Ensure the connection points are dry and smooth. This helps the valve fit securely and prevents leaks.
- Wipe with a clean cloth
- Ensure no debris remains
- Check for any damage
Removing The Old Valve
Removing an old compression shut off valve is a simple task. You need to work carefully to avoid damage to pipes and fittings.
This guide will help you remove the valve safely. Focus on loosening fittings, detaching the valve, and inspecting pipe ends.
Loosening The Compression Fittings
Start by turning off the water supply. Use two wrenches to loosen the compression nuts on both sides of the valve. One wrench holds the pipe steady. The other wrench turns the nut counterclockwise.
- Place one wrench on the pipe fitting to keep it steady.
- Use the second wrench to turn the compression nut slowly.
- Turn the nut until it loosens enough to remove the valve.
- If the nut is stuck, apply a small amount of penetrating oil and wait 10 minutes.
Detaching The Valve
Once the compression fittings are loose, pull the valve away from the pipe. Avoid twisting the valve too hard. Gently wiggle it until it comes free.
Keep the valve upright to prevent any trapped water from spilling. Dispose of the old valve properly or set it aside if you plan to reuse it.
Inspecting The Pipe Ends
| Check | Action |
|---|---|
| Pipe surface | Look for scratches or dents that could cause leaks. |
| Pipe end | Make sure it is clean and free from debris or corrosion. |
| Compression ring | Inspect for cracks or damage and replace if needed. |
| Pipe alignment | Confirm pipes line up straight for easy valve installation. |
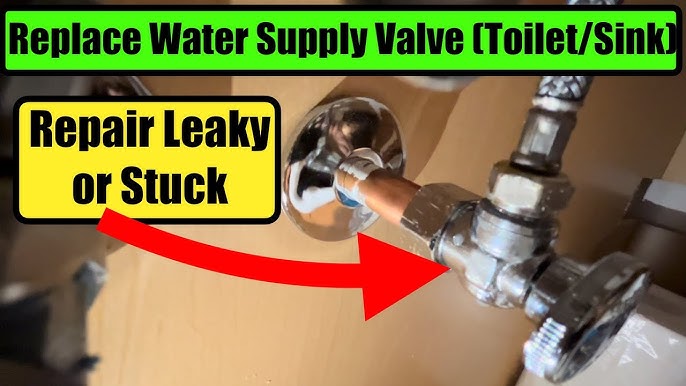
Credit: www.youtube.com
Installing The New Compression Valve
Installing a compression shut off valve is a simple plumbing task. It helps control water flow in pipes.
This guide focuses on how to install the new compression valve correctly and safely.
Positioning The Valve Correctly
Place the valve where you want to control the water flow. Make sure it fits well on the pipe.
The valve should be aligned with the pipe to avoid leaks or damage.
Securing The Compression Nuts
Tighten the compression nuts by hand at first. This holds the valve in place on the pipe.
Use a wrench to finish tightening. Do not over-tighten to avoid damaging the valve.
- Hand tighten the nuts until snug
- Use a wrench to tighten 1/4 turn more
- Stop tightening if the pipe or valve feels stressed
Checking For Proper Alignment
After securing, check that the valve and pipe are straight. Misalignment can cause leaks.
Adjust the valve position if needed before using the wrench again.
Testing The Valve
Testing the compression shut off valve ensures it works correctly. This step helps prevent leaks and water damage.
Follow these simple checks after installing the valve to confirm it functions as needed.
Turning On The Water Supply
Slowly open the main water supply to let water flow into the valve. Opening it too fast can cause pressure issues.
Watch the valve closely as water starts moving. This helps spot any early problems quickly.
Checking For Leaks
Look carefully around the valve and connections for any water drops or moisture. Leaks can cause damage if not fixed.
- Use a dry cloth to check wet spots
- Feel around joints for moisture
- Check under the valve for dripping water
- Inspect after running water for a few minutes
Adjusting The Valve If Necessary
If you find leaks or the valve does not shut off fully, adjust the compression nut. Tighten it slowly to stop leaks.
Test the valve again after each adjustment. Make small changes to avoid damaging the valve or pipe.
Maintenance Tips
Proper maintenance keeps your compression shut off valve working well. It helps avoid leaks and damage.
Follow these tips to ensure your valve lasts a long time and works safely.
Regular Inspection
Check the valve often to find problems early. Look for leaks, cracks, or loose parts.
Inspect the valve at least once every three months. Tighten connections if needed.
- Look for water dripping around the valve
- Feel for unusual vibrations or noises
- Check if the valve handle moves smoothly
- Ensure the valve is not rusty or corroded
Cleaning The Valve
Clean the valve to remove dirt and buildup. Use a soft cloth and mild soap.
Do not use harsh chemicals or abrasive tools. They can damage the valve parts.
- Turn off the water supply before cleaning
- Wipe the valve surface gently
- Remove any dust or debris near the valve
- Dry the valve completely after cleaning
When To Replace The Valve
Replace the valve if it leaks or does not shut off water properly. Old valves may fail.
Signs to replace the valve include rust, cracks, or stiff handles that don’t turn.
- Valve leaks after tightening
- Handle is hard to turn or stuck
- Visible cracks or corrosion on the valve body
- Valve does not fully stop water flow
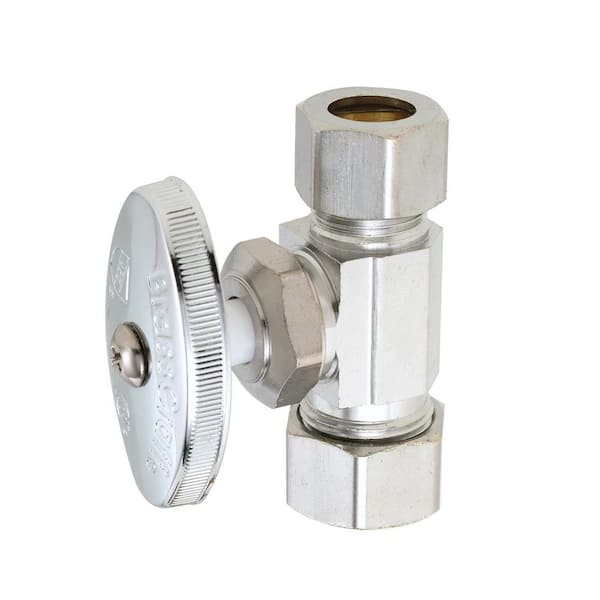
Credit: www.amazon.ca
Frequently Asked Questions
What Tools Are Needed To Install A Compression Shut Off Valve?
You need an adjustable wrench, pipe cutter, compression fittings, and Teflon tape. These tools ensure a secure and leak-free installation.
How Do I Turn Off Water Before Valve Installation?
Locate your main water supply valve and turn it off completely. Drain pipes by opening faucets to prevent water flow during installation.
Can I Install A Compression Valve Without Professional Help?
Yes, if you follow instructions carefully, installing is manageable for DIYers. Basic plumbing knowledge and correct tools are essential for safety and accuracy.
How To Prevent Leaks When Installing Compression Valves?
Ensure pipe ends are clean and free from burrs. Tighten compression nuts firmly but avoid overtightening, which can damage fittings and cause leaks.
Conclusion
Installing a compression shut off valve is simple with the right steps. Always turn off the main water supply first. Tighten connections carefully to avoid leaks. Test the valve after installation to ensure it works well. Taking your time helps prevent mistakes and saves money.
Now, you can control water flow easily and safely. This small fix protects your plumbing and gives peace of mind. Try it yourself and enjoy a quick, useful home repair.