Want to add style and storage to your space without making holes in your walls? Installing a floating shelf without drilling is easier than you think.
You can transform your room quickly and keep your walls intact. Imagine having a sleek shelf holding your favorite books or decorations, all set up in minutes. Keep reading, and you’ll discover simple steps and smart tips to get this done right—no power tools needed.
Your perfect shelf is just a few easy moves away!

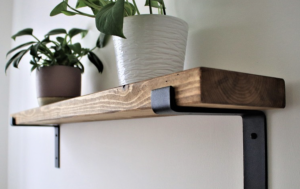
Credit: chill-house.co.uk
Tools And Materials Needed
Installing a floating shelf without drilling needs the right tools and materials. You will use adhesives and mounting options that do not harm your walls.
Knowing the types of shelves and extra supplies helps you prepare well. This guide covers everything you need to get started.
Types Of Floating Shelves
Floating shelves come in different styles and materials. Choose one that fits your space and weight needs.
- Wood shelves offer a classic look and strength.
- Glass shelves add a modern and light feel.
- Metal shelves provide durability and a sleek style.
- Plastic or acrylic shelves are lightweight and easy to clean.
Adhesives And Mounting Options
Strong adhesives can hold shelves without drilling holes. Choose the right type based on your wall surface and shelf weight.
| Adhesive Type | Best For | Max Weight Capacity |
| Construction Adhesive | Drywall, wood, metal | 15-20 lbs |
| Double-Sided Mounting Tape | Smooth surfaces like tile or glass | 5-10 lbs |
| Velcro Strips | Light items on smooth walls | 3-5 lbs |
| Command Strips | Painted walls, easy removal | 7-15 lbs |
Additional Supplies
Besides shelves and adhesives, you need some extra tools to install properly and safely.
- Level tool to keep shelves straight
- Measuring tape for accurate placement
- Cleaning cloth to remove dust before mounting
- Painter’s tape to mark shelf position
- Rubber gloves if using strong adhesives
Preparing The Wall
Installing a floating shelf without drilling is possible. The wall must be prepared properly for the shelf to stay secure.
This guide will help you get the wall ready. Follow these steps to ensure a strong and stable setup.
Choosing The Right Location
Find a spot that can support the weight of the shelf. Make sure the location is not near any heat sources or windows.
Consider the height and purpose of the shelf. Ensure it is reachable and meets your needs.
- Check for any obstacles like light switches or outlets.
- Ensure the wall surface is flat and even.
- Use a level to mark the spot for the shelf.
Cleaning And Drying Surface
The wall surface must be clean before installing the shelf. Dirt or grease can weaken the adhesive that holds the shelf.
Use a mild cleaner to wipe the wall. Allow it to dry completely before proceeding.
- Remove any dust or cobwebs with a dry cloth.
- Use a gentle soap solution for stubborn stains.
- Dry the wall with a clean towel to ensure no moisture remains.
Mounting Methods Without Drilling
Installing a floating shelf without drilling is possible using strong adhesives and hooks. These methods protect your walls from damage. They also make shelf installation quicker and simpler.
Choose the right mounting method depending on your shelf weight and wall surface. Below are popular ways to mount shelves without drilling.
Using Strong Adhesive Strips
Strong adhesive strips provide a clean way to attach a floating shelf. They stick firmly to smooth, clean surfaces like painted drywall or tile. Choose strips rated for the shelf’s weight.
- Clean the wall surface thoroughly.
- Attach the adhesive strips to the shelf back.
- Press the shelf firmly against the wall for 30 seconds.
- Wait the recommended time before placing items on the shelf.
Applying Double-sided Mounting Tape
Double-sided mounting tape is a simple option for lightweight shelves. It works best on smooth walls and clean shelf backs. Ensure the tape can hold your shelf’s weight.
| Type | Best For | Weight Limit |
| Foam Tape | Uneven surfaces | Up to 2 lbs |
| Clear Tape | Smooth walls | Up to 5 lbs |
| Heavy-Duty Tape | Heavier shelves | Up to 10 lbs |
Utilizing Command Hooks Or Strips
Command hooks or strips offer flexible mounting without wall damage. They come in various sizes and weight limits. These work well for shelves with mounting holes or brackets.
- Pick hooks or strips rated above your shelf weight.
- Clean the wall area before applying.
- Attach hooks or strips firmly and wait before hanging.
- Hang the shelf securely on the hooks or brackets.
Step-by-step Installation
Installing a floating shelf without drilling is a simple way to add storage. You can do it without damaging your walls.
This guide shows easy steps to measure, apply adhesive, and secure the shelf safely.
Measuring And Marking Placement
Start by choosing the right spot for your shelf. Use a tape measure and pencil to mark the wall.
- Measure the length and height where the shelf will go.
- Use a level to ensure marks are straight.
- Mark the exact points for shelf edges and support spots.
Applying Adhesive Properly
Choose a strong adhesive made for wall shelves. Clean the wall surface before applying.
- Wipe the wall with a damp cloth and let dry.
- Apply adhesive evenly on the back of the shelf.
- Press the shelf firmly against the wall to spread the glue.
Securing The Shelf In Place
Hold the shelf in place until the adhesive sets. Use supports if needed to keep it steady.
| Action | Tip |
|---|---|
| Press shelf on wall | Hold for 30 seconds to 1 minute |
| Use temporary supports | Place books or boxes under shelf |
| Wait for adhesive to dry | Follow manufacturer’s drying time |
Tips For Weight Limits And Safety
Installing a floating shelf without drilling can save walls from damage. It also keeps your space neat and clean.
Knowing how much weight your shelf can hold is very important. Safety should be your top priority to avoid accidents.
Estimating Shelf Load Capacity
Check the shelf material and the mounting system you use. These affect how much weight the shelf can support.
Look at the product instructions for maximum weight limits. Do not try to exceed these limits.
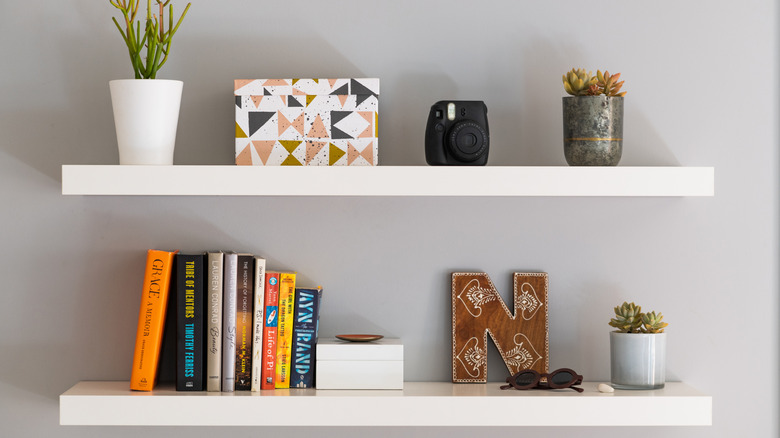
- Use lightweight items like small plants or books
- Keep heavier objects off the shelf
- Spread the weight evenly across the shelf
- Test the shelf with light loads before adding more weight
Avoiding Common Mistakes
Do not ignore the surface type before installing. Some walls cannot hold adhesive shelves well.
Make sure the shelf is level and firmly attached. Loose shelves may fall and cause injuries.
- Clean the wall surface before mounting
- Do not overload the shelf beyond its limit
- Avoid placing the shelf near heat or moisture
- Check the shelf regularly for signs of wear or loosening

Credit: www.reddit.com
Maintenance And Removal
Floating shelves without drilling need proper care to last long. Cleaning and removal require gentle methods. This guide helps you keep shelves neat and remove them safely.
Cleaning Floating Shelves
Dust and dirt can build up on floating shelves. Clean them regularly to keep their look fresh. Use soft cloths and mild cleaners that do not harm the surface.
- Use a dry microfiber cloth for dusting.
- For stains, dampen cloth with warm water and mild soap.
- Wipe gently to avoid scratches or damage.
- Dry the shelf fully to prevent water marks.
- Avoid harsh chemicals or abrasive tools.
Removing Without Damaging Walls
Removing floating shelves without drilling is easy if done carefully. Follow steps to protect the wall paint and surface from damage.
| Action | Details |
| Check attachment type | Identify if the shelf uses adhesive strips or mounting brackets. |
| Use heat for adhesives | Warm the adhesive with a hairdryer to soften it before removal. |
| Peel slowly | Gently pull the shelf or adhesive away from the wall in small sections. |
| Clean residue | Remove leftover adhesive with mild soap and water or adhesive remover. |
| Patch small marks | Use wall putty or paint to fix minor wall damage if needed. |
Alternatives To Floating Shelves
Floating shelves look great but need drilling to fix on walls. Many people want shelves without making holes. There are easy options to add storage and style without drilling.
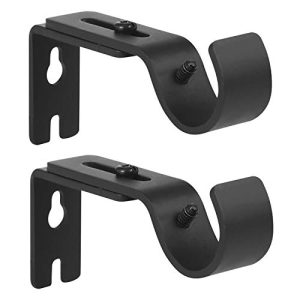
This guide shows two good alternatives to floating shelves that you can use right away. Both options are simple to set up and move if needed. One option is to use wall-mounted brackets that can support heavier items, providing both stability and style. Another alternative is to incorporate bookcases or cabinets, allowing for versatile storage solutions. If you’re still interested in how to install floating shelves, consider these alternatives as a great starting point before making that decision.
Lean Shelves
Lean shelves rest against the wall without drilling. They lean at a slight angle and use the wall for support. These shelves fit well in many rooms.
- Easy to move and rearrange
- No damage to walls
- Can hold books, plants, and decor
- Usually made of wood or metal
- Take up some floor space
Freestanding Shelf Units
Freestanding shelf units do not need wall support. They stand on their own and offer lots of storage. These shelves come in many styles and sizes for any space.
| Type | Material | Best Use | Pros | Cons |
| Bookshelf | Wood or metal | Books and decor | Sturdy, many sizes | Needs floor space |
| Cube Storage | Plastic or wood | Organizing small items | Modular, colorful | Less weight support |
| Ladder Shelf | Wood or metal | Decor and plants | Stylish, easy to move | Limited storage depth |
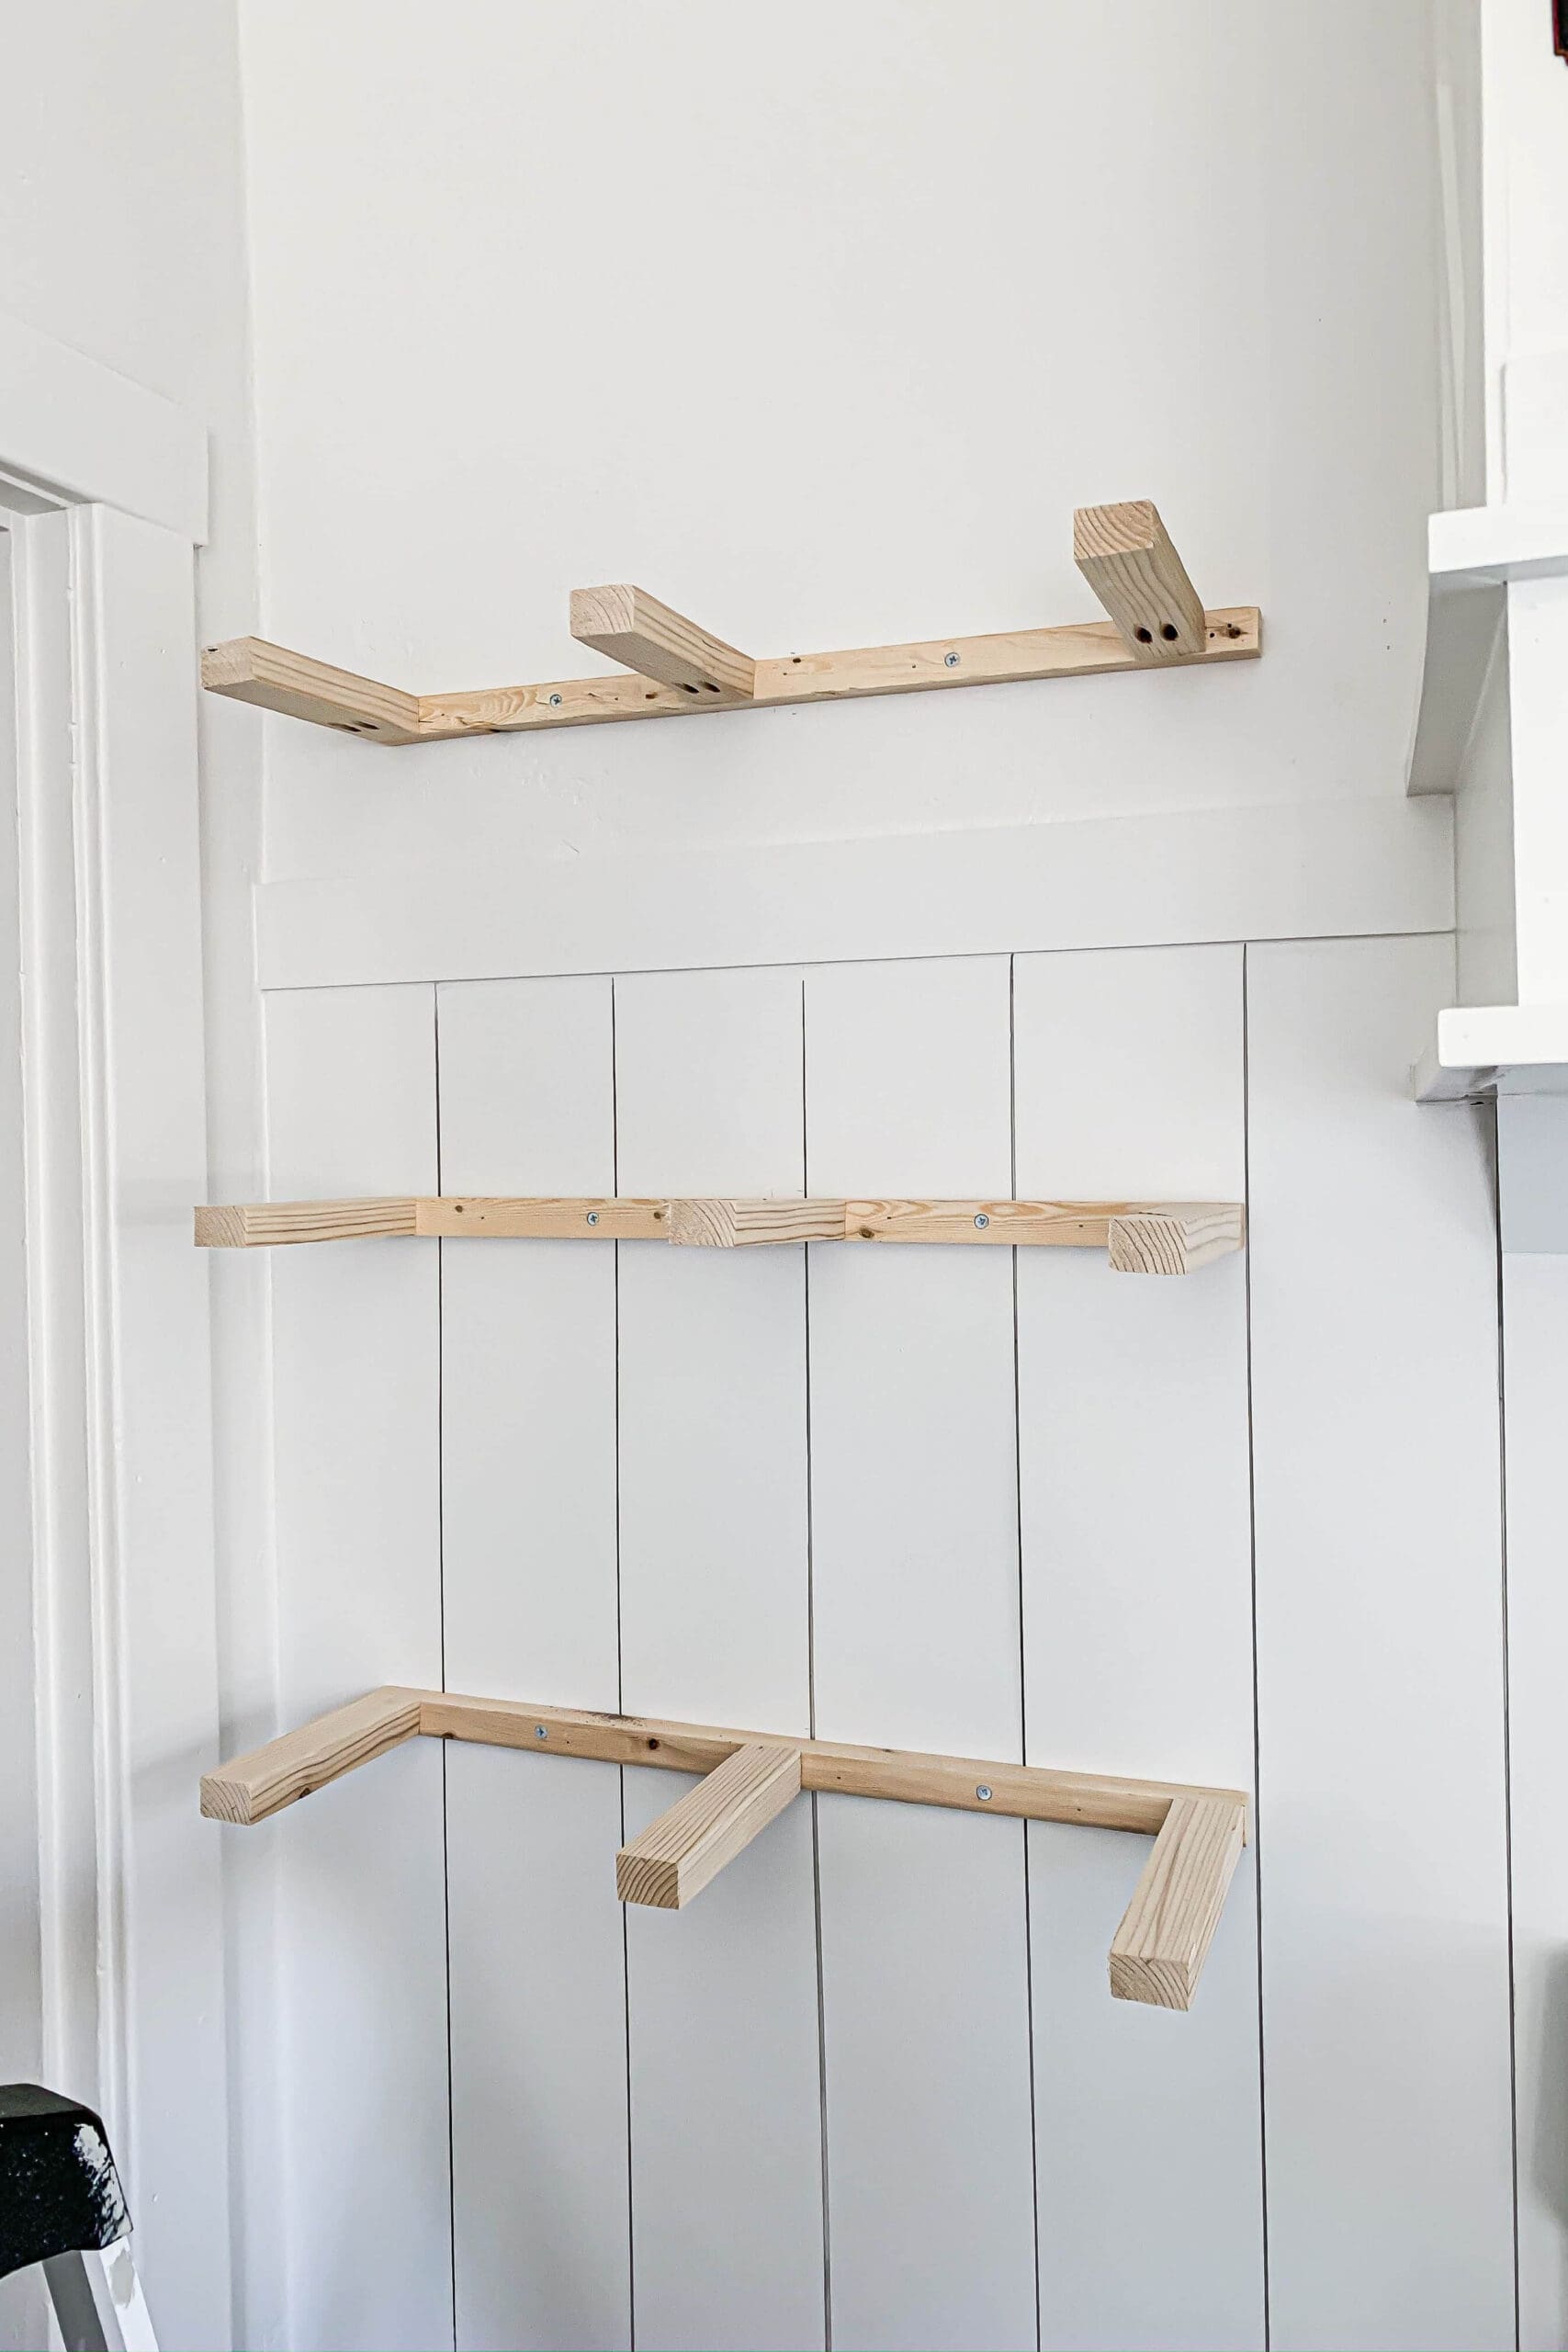
Credit: crystelmontenegrohome.com
Frequently Asked Questions
What Materials Are Best For Floating Shelves Without Drilling?
Lightweight materials like plywood or MDF work best for no-drill shelves. They reduce stress on adhesive mounts. Choose smooth, flat surfaces for strong adhesion and stability.
How To Secure Floating Shelves Without Wall Damage?
Use strong adhesive strips or mounting tape designed for heavy loads. Avoid nails or screws to prevent wall damage. Clean the wall surface properly before applying adhesive for better grip.
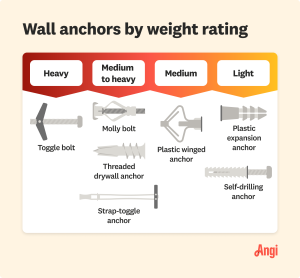
Can Floating Shelves Hold Heavy Items Without Drilling?
No-drill floating shelves support light to medium weights only. Heavy items require wall anchors or screws for safety. Always check adhesive weight limits before loading shelves.
What Surfaces Work Best For No-drill Shelf Installation?
Smooth, clean surfaces like painted drywall, glass, or tile hold adhesives well. Avoid rough or porous walls as they reduce adhesive strength. Proper surface prep is crucial for durability.
Conclusion
Installing a floating shelf without drilling is now a reality. You can add style to your home without damaging the walls. With these steps, you can achieve a professional look without the hassle of drilling. No more worrying about holes or brackets ruining your decor.
By following these tips, you can create a seamless and modern look that elevates your space. Your floating shelf is now a stunning addition to your home, and you can enjoy the beauty of a clutter-free and stylish space. This method is perfect for renters or homeowners who want a hassle-free decorating experience.