Are you tired of your wooden gate sagging and making your property look untidy? A sagging gate isn’t just an eyesore—it can cause frustration every time you try to open or close it.
But what if you could build a gate that stays strong, straight, and reliable for years to come? In this guide, you’ll discover simple, effective steps to build a wooden gate that won’t sag. Whether you’re a beginner or have some DIY experience, these tips will help you save time, money, and headaches.
Keep reading, and you’ll soon have a gate that looks great and works perfectly.

Credit: www.youtube.com
Choosing The Right Wood
Choosing the right wood is key to building a wooden gate that will not sag. The wood must be strong and durable. It should also resist weather and insects.
Good wood helps keep the gate sturdy and looking good for a long time. This guide covers the best wood types and how to treat them.
Best Wood Types For Gates
Some wood types are better for gates because they last longer and stay strong. Here are some of the best choices:
- Cedar: It is light, strong, and naturally resists rot and insects.
- Redwood: This wood is durable and has good weather resistance.
- Pressure-Treated Pine: It is affordable and treated to resist rot and bugs.
- Teak: Very strong and weather-resistant but more expensive.
- Oak: Heavy and strong with good durability but may need more care.
Wood Treatment Options
Wood treatment helps protect the gate from water, insects, and sun damage. Different treatments suit different wood types and climates.
| Treatment Type | Description | Best For |
| Sealer | Blocks moisture and protects from sun. | Cedar, Redwood |
| Wood Preservative | Prevents rot and insect damage. | Pressure-treated Pine, Oak |
| Stain | Adds color and some protection. | All wood types |
| Paint | Full coverage and weather protection. | Any wood, but may peel over time |
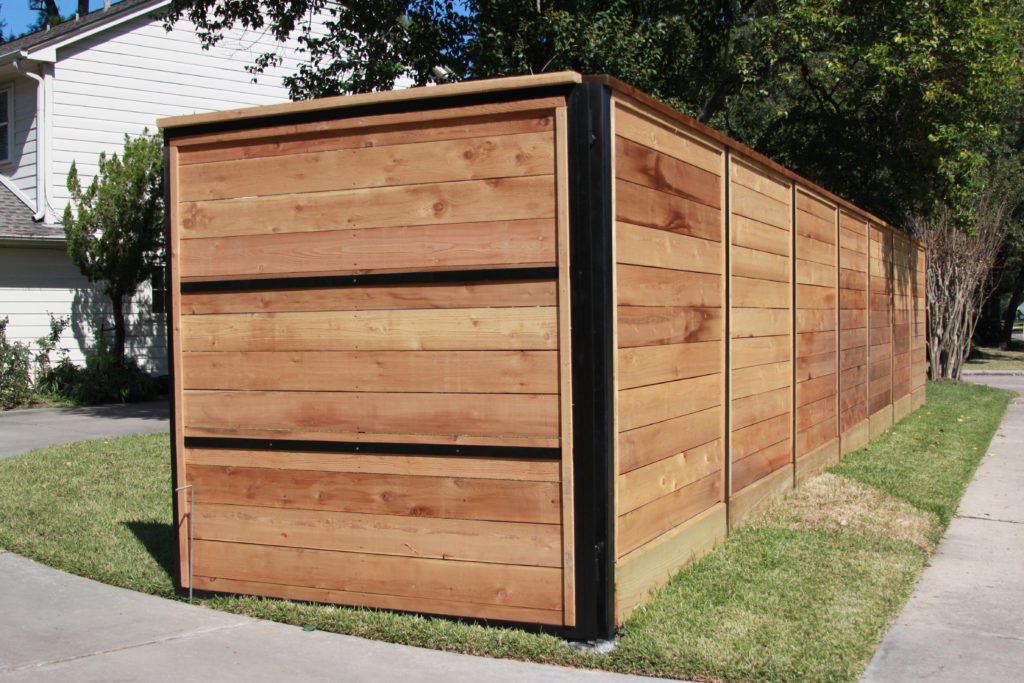
Credit: www.griffinfence.com
Essential Tools And Materials
Building a wooden gate that won't sag is a rewarding project. You need the right tools and materials to ensure durability. This guide will help you gather what you need.
Must-have Tools
Having the right tools makes building easier. Here's a list of essential tools for your wooden gate project.
- Measuring tape for accurate dimensions
- Circular saw for cutting wood
- Power drill for securing screws
- Level to ensure straight lines
- Hammer for nailing pieces together
- Chisel for detailed woodwork
Quality Hardware Selection
Hardware quality affects your gate's longevity. Choose strong and durable materials.
| Hardware | Recommended Type |
| Hinges | Heavy-duty, rust-resistant |
| Screws | Galvanized steel |
| Latch | Stainless steel |
Selecting the right tools and hardware is crucial. This ensures your wooden gate remains sturdy and functional for years.
Gate Design Principles
Building a wooden gate that stays strong and straight is important. Good design stops the gate from sagging over time.
Using the right frame and support helps keep your gate working well for years. This guide shows key ideas to follow.
Frame Construction Techniques
Start with a solid frame made from sturdy wood. Use straight pieces that fit tightly together for strength.
Join the frame corners with strong joints. Mortise and tenon or lap joints work best. Avoid nails alone to keep the frame firm.
- Use hardwood like oak or cedar
- Cut wood accurately for tight joints
- Apply wood glue for extra hold
- Clamp frame while glue dries
Incorporating Support Braces
Support braces stop the gate from sagging by sharing weight. Place them diagonally inside the frame.
Attach braces securely to the frame with screws or bolts. Make sure they fit snugly and do not move.
- Use a diagonal brace from bottom hinge to top latch side
- Cut the brace to fit the frame size
- Secure both ends tightly
- Check brace fit before final assembly
Step-by-step Assembly
Building a wooden gate that won't sag starts with careful assembly. Follow simple steps to keep your gate strong and sturdy.
This guide covers measuring, cutting, frame assembly, and attaching boards. Each part helps prevent sagging over time.
Measuring And Cutting Wood
First, measure the area where the gate will go. Accurate measurements help your gate fit perfectly.
- Measure the width and height of the gate opening.
- Mark the wood pieces according to these measurements.
- Cut the wood using a saw, making straight and clean cuts.
- Double-check each piece for correct size before moving on.
Assembling The Frame
Build a strong frame to support the gate and avoid sagging. Use sturdy wood and proper joinery.
| Frame Part | Length | Purpose |
| Top Rail | Gate width | Holds the top of the gate |
| Bottom Rail | Gate width | Supports the bottom |
| Side Posts | Gate height | Connects rails vertically |
| Diagonal Brace | From bottom corner to opposite top corner | Prevents sagging |
Attach the rails and posts with screws or nails. Add a diagonal brace for extra strength.
Attaching The Boards
Once the frame is ready, fix the boards to create the gate surface. Space them evenly for a neat look.
- Lay boards flat along the frame.
- Leave small gaps to allow wood expansion.
- Secure each board with screws or nails into the rails.
- Check alignment as you go to keep the boards straight.
Preventing Sagging
A wooden gate can sag over time if not built properly. Sagging makes the gate hard to open and close. It also damages the gate and fence.
To stop sagging, use strong support and good mounting. This guide shows how to build a wooden gate that stays straight.
Installing Diagonal Braces
Diagonal braces give extra strength to your gate. They help spread the weight evenly. This stops the gate from bending down.
Attach a wooden brace from the bottom hinge side to the top latch side. Use screws or bolts for a tight fit.
- Cut a brace to fit diagonally inside the gate frame
- Fix one end near the bottom hinge post
- Fix the other end near the top latch side
- Use strong screws or bolts for secure fastening
Using Strong Hinges
Strong hinges hold the gate up and allow smooth movement. Choose hinges made for heavy wood gates. Weak hinges can bend and cause sagging.
Install two or three hinges depending on gate height. Use long screws that go deep into the posts.
- Select heavy-duty hinges made of steel or iron
- Space hinges evenly along the gate height
- Use screws that are at least 3 inches long
- Tighten all screws firmly to avoid loosening
Proper Gate Mounting
Mount the gate on strong, solid posts. Posts should be set deep in the ground with concrete. Weak posts let the gate sag.
Check that the gate hangs straight and swings freely. Adjust the hinges and posts if needed for perfect alignment.
- Use thick wooden or metal posts for support
- Dig post holes at least 2 feet deep
- Fill holes with concrete and let it dry fully
- Hang the gate and check for level and square
Finishing Touches
Finishing your wooden gate well helps it last longer and look great. Proper sanding and sealing protect the wood from damage. Painting or staining adds color and extra defense.
These final steps keep your gate strong and keep it from sagging. Pay close attention to each part for the best results.
Sanding And Sealing
Sanding smooths the wood and removes rough spots. Start with coarse sandpaper and finish with fine grit. This makes the surface ready to seal and protects against moisture.
- Use 80-grit sandpaper for rough surfaces
- Switch to 120-grit for a smoother finish
- Clean dust off before sealing
- Apply a wood sealer with a brush
- Let the sealer dry fully before the next step
Painting And Staining Tips
Choose paint or stain that suits your style and protects wood. Use outdoor-grade products to fight weather damage. Apply even coats and allow proper drying time.
| Type | Best Use | Dry Time |
| Exterior Paint | Bright, solid colors | 4-6 hours |
| Wood Stain | Natural wood look | 2-4 hours |
| Clear Sealant | Protects without color | 3-5 hours |
Apply at least two coats for good coverage. Use a brush for edges and a roller for flat surfaces. Check the weather to avoid rain during drying.
Maintenance For Longevity
Keeping a wooden gate sturdy and sag-free takes regular care. Proper maintenance helps the gate last longer and work well.
This guide covers simple ways to check your gate and fix small problems early. These steps stop bigger damage.
Regular Inspection
Look over your wooden gate often. Check for loose hinges, cracks, or warping. Early signs of wear can be fixed easily.
- Check hinges and screws for rust or looseness
- Look for cracks or splits in the wood
- Watch for any sagging or uneven parts
- Inspect the latch and locking mechanism
- See if the gate swings smoothly without sticking
Repairing Minor Issues
Fix small problems as soon as you find them. Tighten screws, replace rusty parts, and fill cracks to keep the gate strong.
| Issue | Fix | Tools Needed |
| Loose hinges | Tighten screws or replace if rusty | Screwdriver, replacement screws |
| Small cracks in wood | Fill with wood filler and sand smooth | Wood filler, sandpaper |
| Sagging gate | Adjust hinge position or add support brace | Wrench, drill, wood brace |
| Sticking latch | Clean and lubricate latch parts | Lubricant, cloth |

Credit: www.youtube.com
Frequently Asked Questions
How Do I Prevent My Wooden Gate From Sagging?
Use sturdy materials and strong hinges. Install a diagonal brace to support weight and maintain alignment. Regularly tighten screws and check for wear. Proper installation and maintenance ensure your gate stays straight and functional.
What Type Of Wood Is Best For Gate Durability?
Choose hardwoods like cedar, redwood, or oak. These woods resist rot and insect damage. They offer strength and longevity, making your gate durable and sag-resistant over time.
How Often Should I Maintain My Wooden Gate?
Inspect and maintain your gate every 6 months. Tighten hardware, treat wood with sealant, and check for sagging. Regular maintenance prolongs gate life and prevents common issues like sagging and warping.
Can Installing A Gate Stop Help Prevent Sagging?
Yes, a gate stop reduces strain on hinges by limiting gate movement. It helps maintain alignment and prevents sagging caused by excessive swinging or weight stress.
Conclusion
Building a wooden gate that won’t sag takes care and the right steps. Use strong wood and sturdy hinges for best results. Make sure to add proper support, like a diagonal brace. Regularly check and tighten screws to keep the gate firm.
A well-built gate lasts longer and works smoothly. Try these tips to enjoy a gate that stays straight and strong. Simple actions can save you time and money. Keep your gate looking good and working well for years.